
Most “clogged” disposals are either (1) jammed at the grinding plate or (2) blocked downstream in the drain/P-trap. The fastest fix depends on what symptoms you’re seeing, and manufacturer instructions are very clear about one thing: cut power first and never put your hand inside the unit (see InSinkErator’s jam-fix safety notes and the Home Depot safety checklist).
Safety first (don’t skip this)
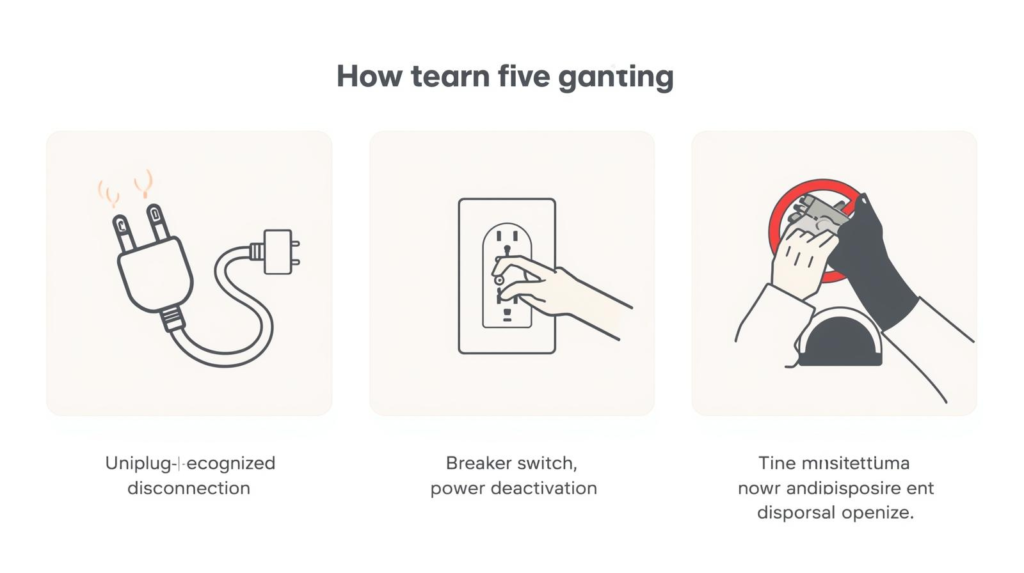
- Turn the disposal switch OFF and cut power by unplugging it or switching off the breaker, as recommended in Home Depot’s guide and implied in InSinkErator’s jam instructions (“switch off” and don’t reach in).
- Never put your hand in the disposal, a warning stated directly in InSinkErator’s jam-fix page.
Step 1: Diagnose the problem in 10 seconds
Match what you hear/see:
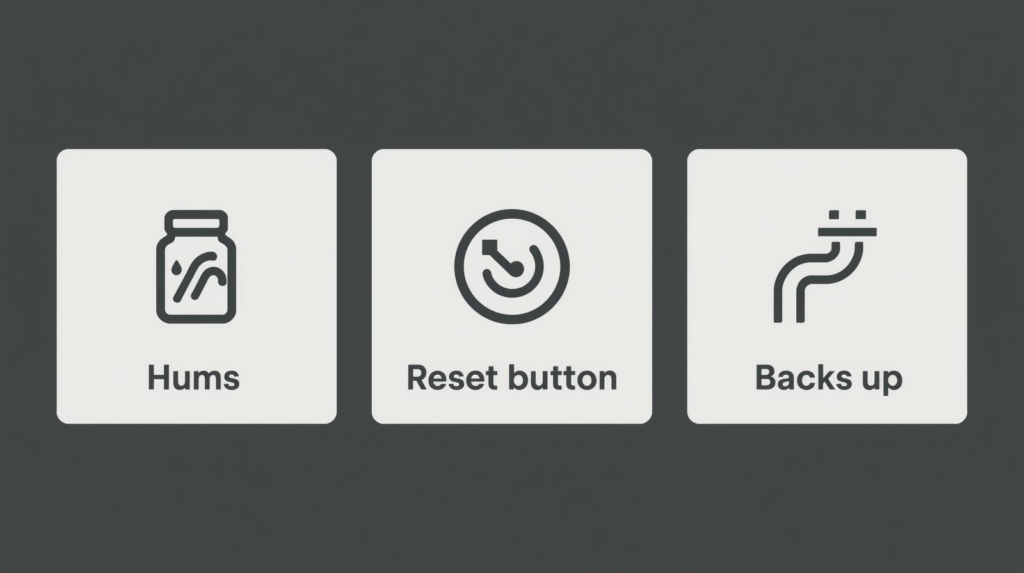
- Humming but not grinding: likely a jam (common fix is manual rotation from underneath), per InSinkErator jam instructions and typical troubleshooting steps like Home Depot’s hex-wrench method.
- Silent (no sound at all): could be tripped overload/reset or no power—resetting is a standard step after clearing a jam, as described in many disposal operating/troubleshooting materials (start with the manufacturer steps such as InSinkErator’s jam guidance).
- Water backs up / drains slowly but disposal spins: the clog may be in the drain line or P-trap, which guides like Home Depot’s unclogging guide often address with plunging and drain checks.
Fix A: If it hums (most common) — unjam it from underneath
This is the manufacturer-approved approach for many units.
- Confirm power is OFF, as emphasized in Home Depot’s safety step.
- If the sink is full, bail out water first—InSinkErator specifically warns not to work with a sink full of water.
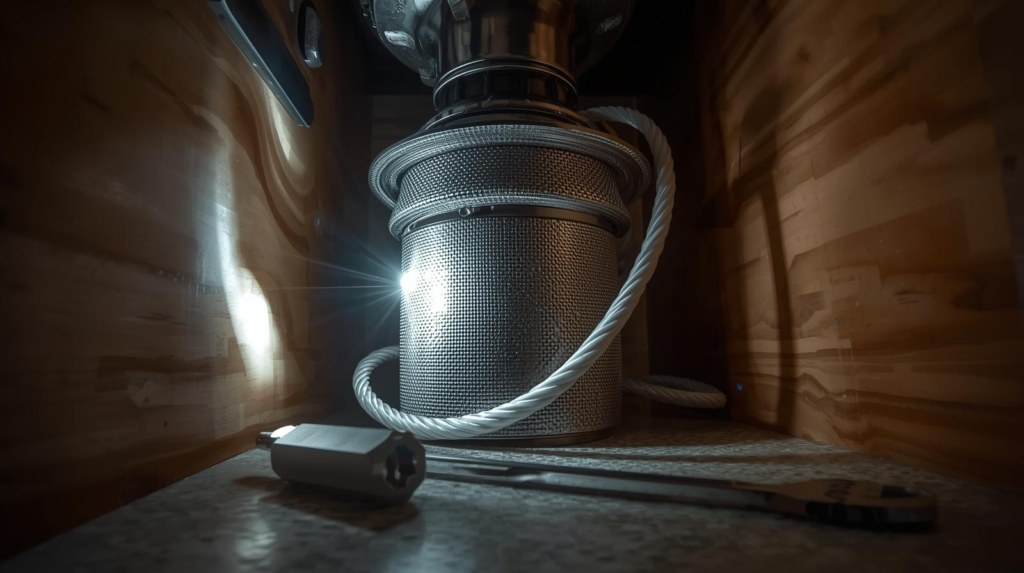
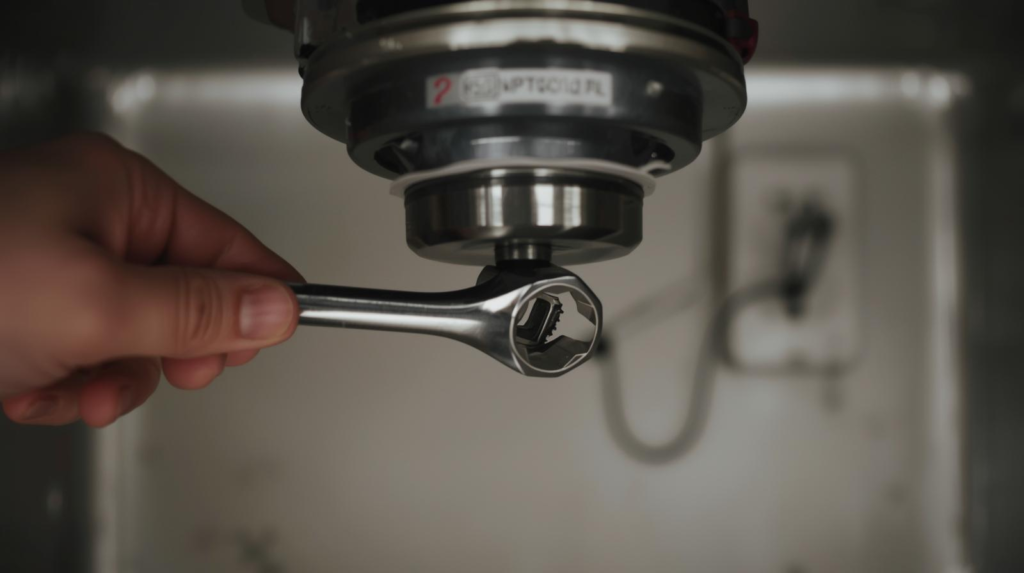
- Under the unit, insert the “wrenchette”/hex key into the center hole on the bottom and work it back and forth until it turns freely, exactly as shown in InSinkErator’s jam instructions and echoed in Home Depot’s hex-wrench method.
- Look into the disposal with a flashlight and remove any visible object with tongs/pliers (not your hand), aligning with InSinkErator’s “do not place your hand” warning.
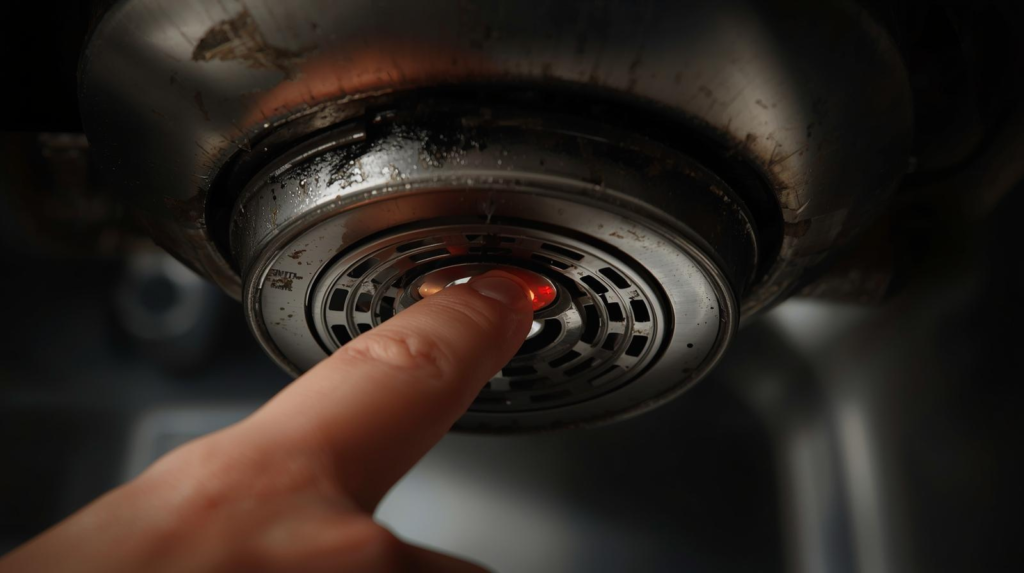
Reset and test
After you’ve freed the jam:
- Press the reset/overload button (typically on the bottom of the unit), then restore power and test with running water—this “clear jam → reset → test” flow is consistent with standard troubleshooting like Home Depot’s guide and manufacturer troubleshooting such as InSinkErator’s jam-fix steps.
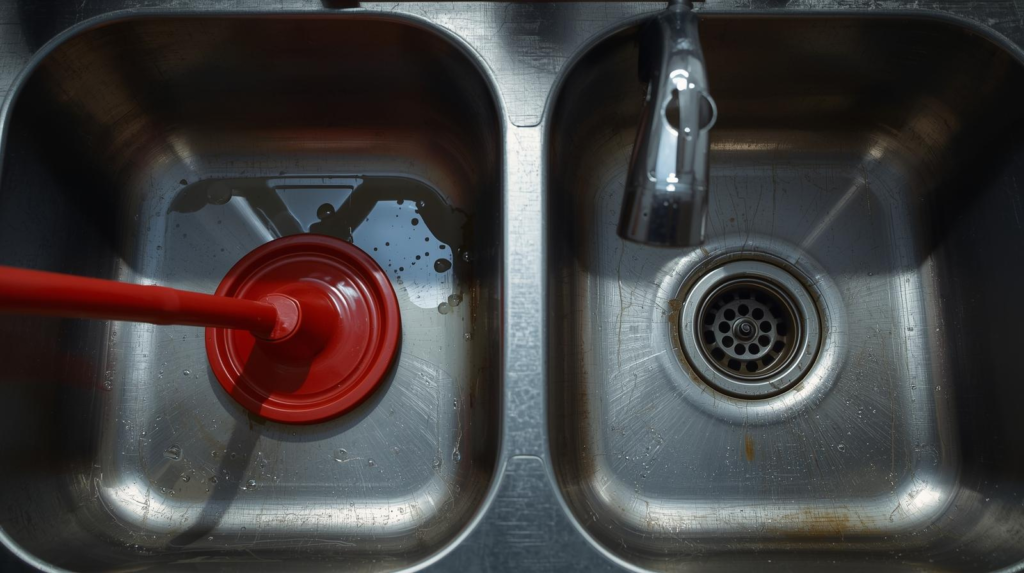
Fix B: If the sink backs up — plunge the disposal side correctly
Plunging works best when the clog is in the drain line and you create a tight seal.
- Turn power OFF (again), per the Home Depot safety guidance.
- If you have a double-basin sink, plug the other drain tightly so pressure doesn’t escape (a common plunging principle used in sink-drain clearing steps like those outlined in Home Depot’s unclogging instructions).
- Add enough water to cover the plunger’s cup, then plunge vigorously 10–20 strokes.
- Remove the plunger and see if the sink drains. Repeat once or twice.
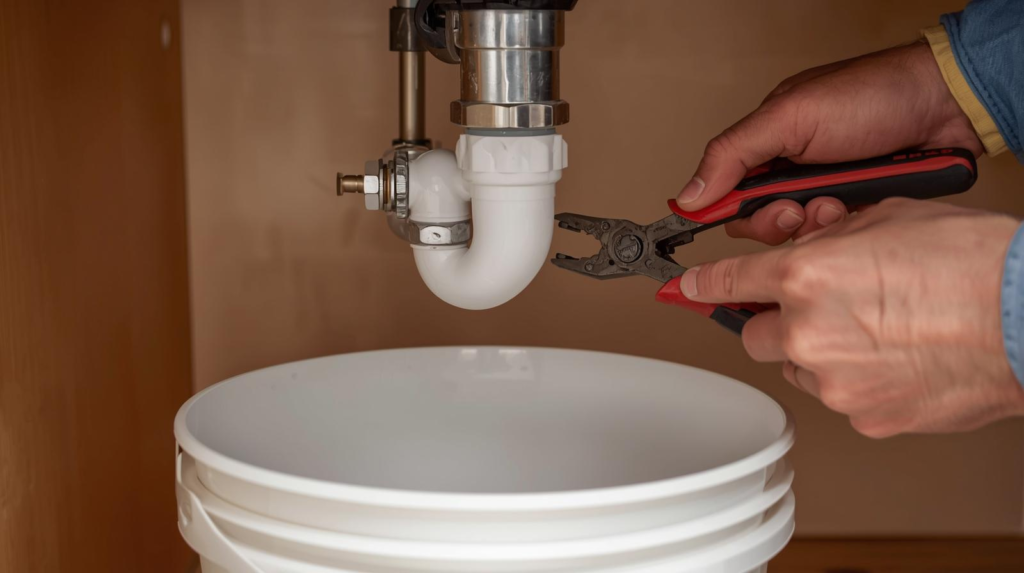
Fix C: If plunging fails — check the P-trap (only if you’re comfortable)
Many “disposal clogs” are actually trapped in the P-trap under the sink, which is a common DIY next step after basic attempts like plunging (see typical home-repair workflows such as Home Depot’s unclogging guide).
- Put a bucket under the trap.
- Unscrew the slip nuts carefully, remove the trap, and clear debris.
- Reinstall, hand-tighten plus a small snug turn, then test for leaks.
Tip: If you see corrosion, odd fittings, or you’re not confident resealing, it’s often faster (and safer) to call a plumber.
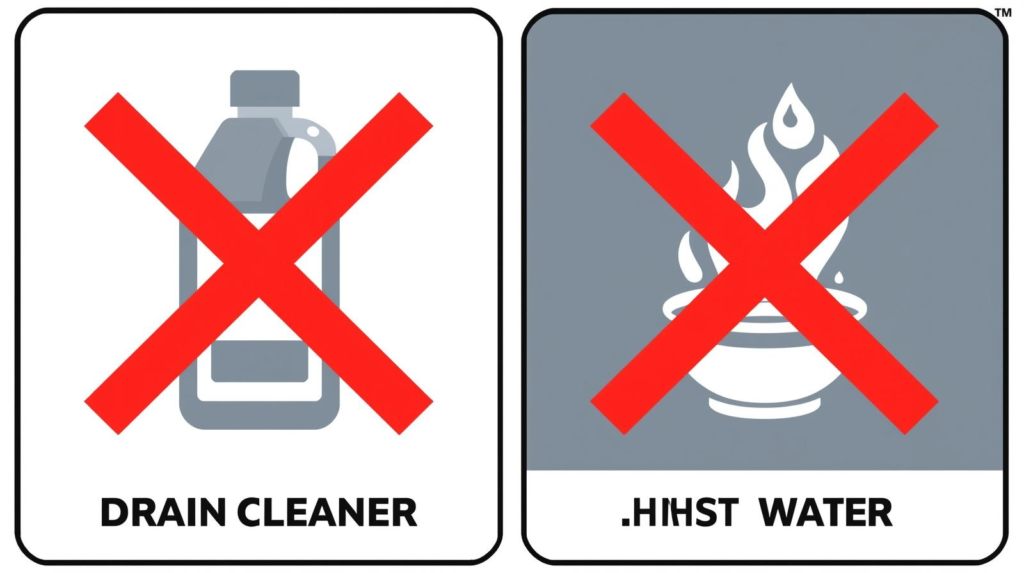
What not to do (this prevents damage and ugly surprises)
- Don’t use lye or chemical drain cleaners in the disposal. Some manufacturers explicitly warn against it—e.g., the Waste King instruction sheet states “NEVER” use lye/chemical drain cleaners because they can corrode parts and void warranties, and InSinkErator also cautions against “bleach or drain cleaners” in its care advice (see InSinkErator’s “things to keep in mind” article).
- Don’t grind with hot water. InSinkErator’s guidance is to run the disposer with cold water and continue for a few seconds after grinding (see InSinkErator’s “what food can I grind?” tips and the InSinkErator disposer operating instructions PDF).
After it’s unclogged: the 60-second “flush” to prevent repeat clogs
- Run a moderate stream of cold water before and during grinding, then keep it running briefly after to move particles through the drain line, as described in InSinkErator’s usage tips and the InSinkErator operating instructions.
- Avoid sending grease/fat down the disposal, which InSinkErator explicitly advises against (see “Never pour grease or fat…”).
When to stop DIY and call a pro
Consider professional help if:
- You smell burning, see smoke, or the unit repeatedly trips after you unjam/reset (basic troubleshooting usually shouldn’t require repeated resets per manufacturer-style flows like InSinkErator’s jam procedure).
- You find a leak at the housing, wiring concerns, or a hardwired electrical setup you’re not comfortable working around.
Summary
To unclog a garbage disposal safely: cut power, determine whether it’s jammed vs. downstream drain clog, then unjam from underneath with the hex key/wrenchette per InSinkErator’s jam instructions, reset and test, and use proper plunging if the sink backs up (see Home Depot’s method). Avoid chemical drain cleaners—some manuals explicitly warn against them (see the Waste King instruction sheet)—and stick with cold-water operation per InSinkErator’s operating tips.