Most caulk removal is a two-part job: cut and peel off the bulk, then remove the thin residue film so new caulk will stick. That’s the same workflow recommended in DAP’s caulk removal steps and in the surface-prep guidance inside the GE Supreme Silicone sealant datasheet.
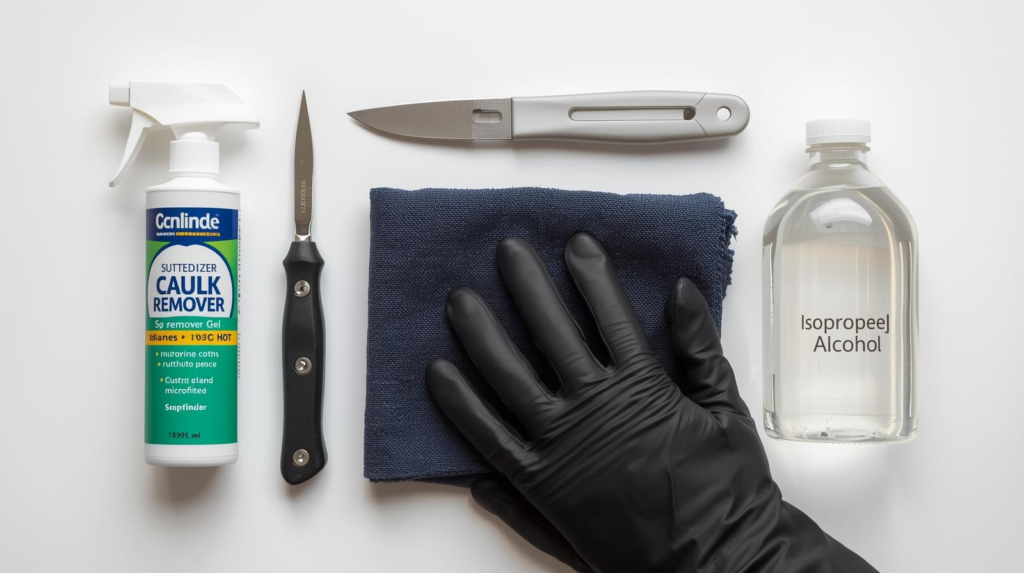
What you’ll need
- Utility knife or caulk-removal tool (for scoring and lifting), as shown in DAP’s removal guide
- Putty knife or plastic scraper for gentle prying, per DAP
- Caulk remover gel (optional but helpful) to soften stubborn lines, per DAP’s “soften caulk” step
- Isopropyl (rubbing) alcohol for final wipe-down to remove residue, recommended by DAP and also used in GE’s surface prep instructions
- (Sometimes) mineral spirits for cured silicone residue on certain hard surfaces—only where the manufacturer says it’s compatible, per GE’s removal guidance by surface type
Step-by-step: Remove caulk the right way
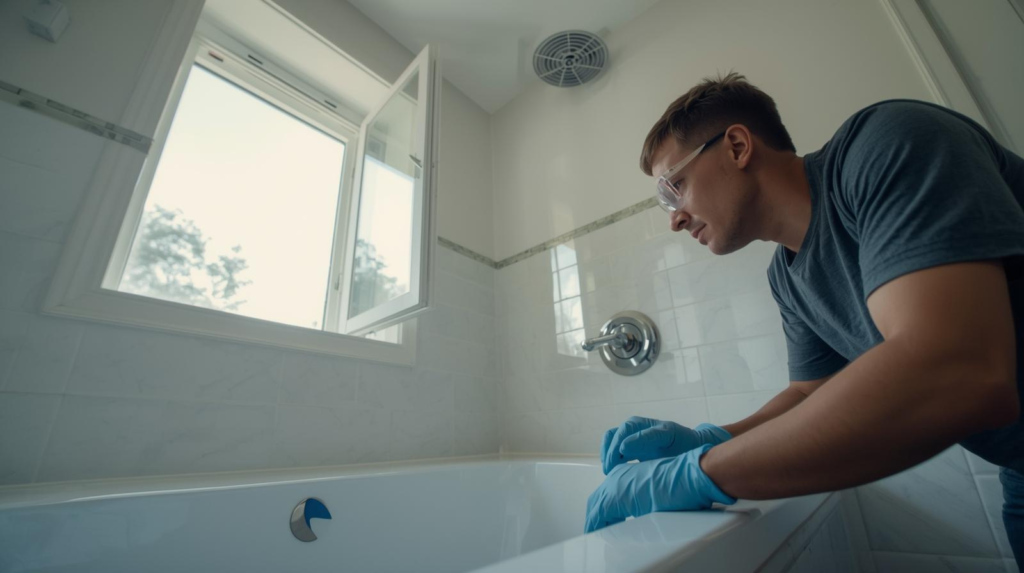
1) Ventilate and protect the area
If you’ll use solvents (alcohol/mineral spirits), open a window or run the fan—solvent safety guidance commonly stresses adequate ventilation and protective gloves/eye protection, as you’ll see in a typical mineral spirits Safety Data Sheet and solvent PPE notes like CPWR’s solvent hazard sheet.
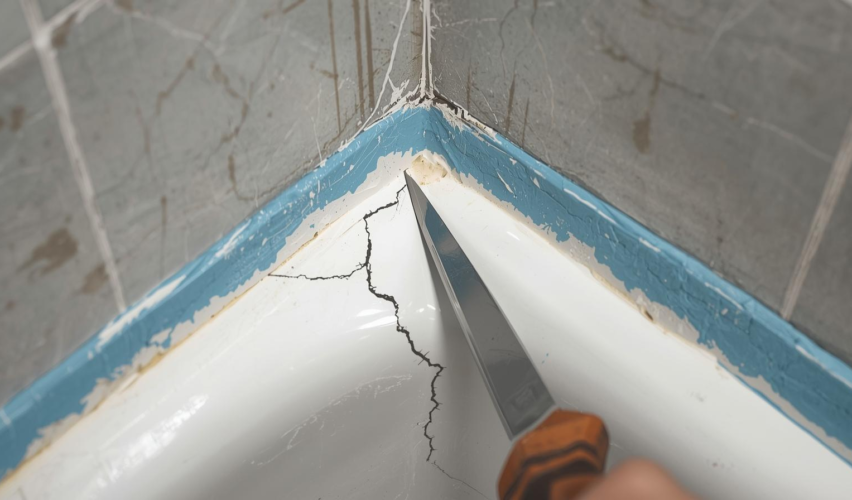
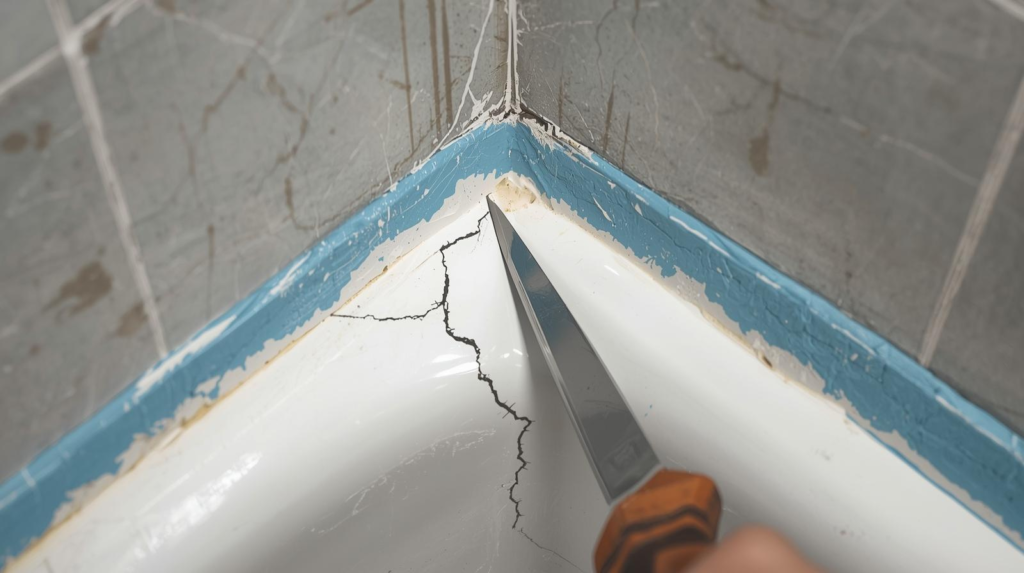
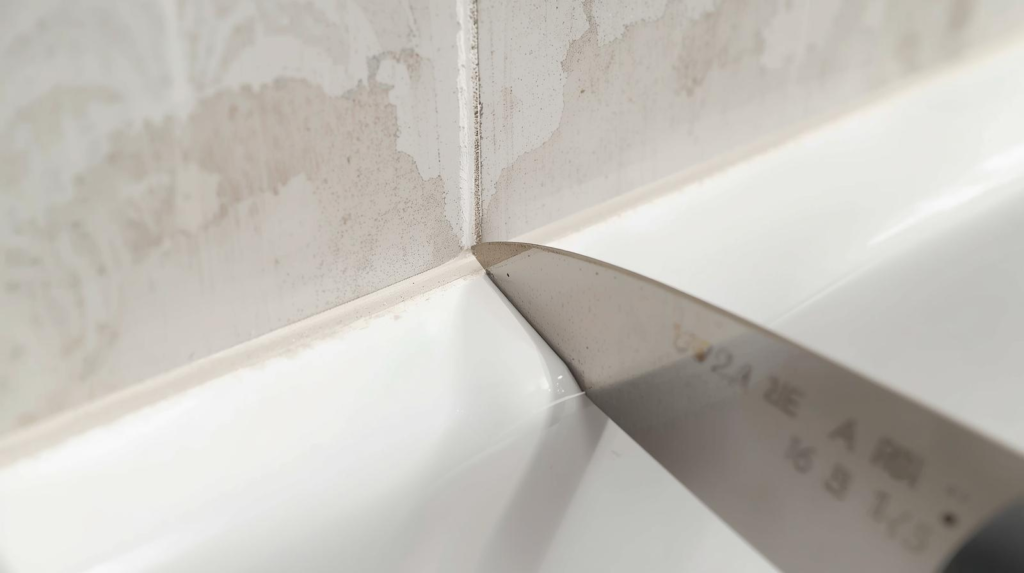
2) Score the caulk edges to break the bond
Run a sharp blade along both edges of the caulk bead to separate it from the surfaces—this “score first” technique is called out in DAP’s Step 2: Score the Caulk.
Tip: Keep the blade shallow so you don’t gouge acrylic tubs, fiberglass surrounds, or soft stone.
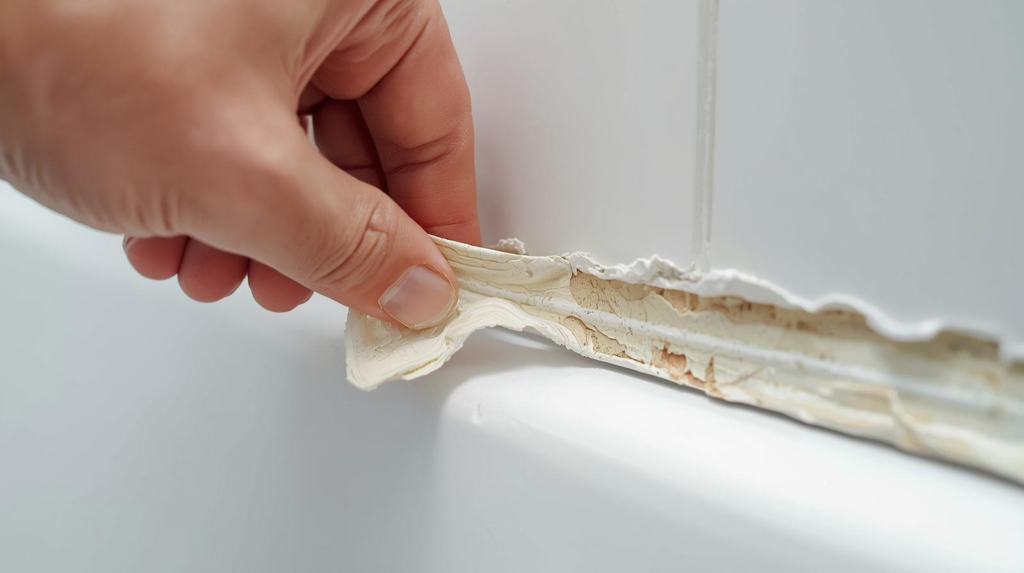
3) Peel off as much as you can in long strips
After scoring, lift an end with a putty knife and pull slowly; DAP recommends removing loose caulk first and pulling in strips where possible in Step 1: Remove Loose Caulk.
4) If it won’t budge, soften it (optional but effective)
A caulk remover gel can soften stubborn material so it scrapes off easier; DAP’s Step 3: Soften Caulk for Removal describes letting remover sit briefly (and reapplying if needed).
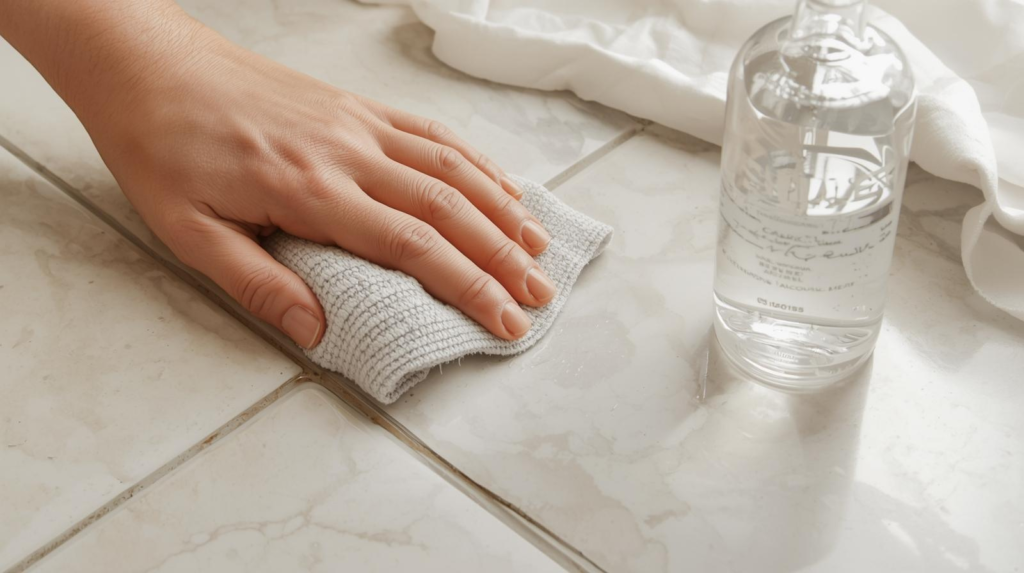
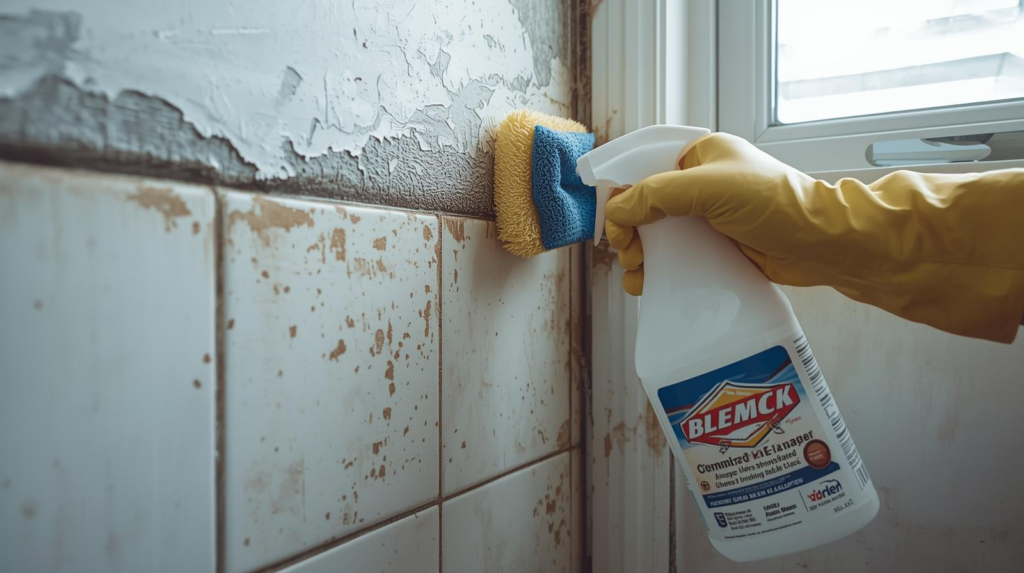
5) Scrape the residue film (this is the part people skip)
Even after the bead is gone, a thin residue can remain and interfere with adhesion. DAP specifically recommends scraping residue with a no-scratch pad and then wiping with isopropyl rubbing alcohol, and GE also emphasizes removing contaminants (old sealant, oils, soap residue) in its surface preparation section.
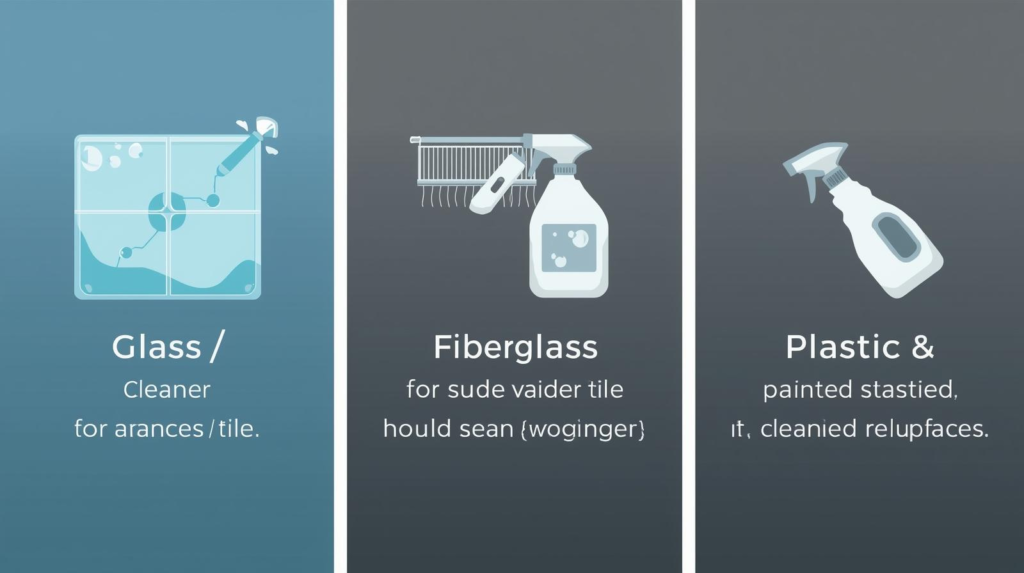
Surface-specific tips (so you don’t etch or discolor anything)
Glass
GE’s datasheet advises that on glass you can carefully use a razor blade in a holder to remove remaining cured sealant, then apply mineral spirits for residue cleanup per GE’s glass-surface removal instructions.
Ceramic tile, marble, laminate, fiberglass (common bath surfaces)
GE notes that for several non-porous surfaces you may use mineral spirits with a non-abrasive pad, but you should test in a hidden spot first to avoid discoloration, per GE’s cured/old sealant removal guidance.
Hard plastics or painted surfaces
GE specifically warns not to use mineral spirits on some plastics/painted surfaces and instead recommends rubbing alcohol and a soft cloth, per GE’s plastic/painted surface instructions.
If there’s mold or mildew under the caulk
Manufacturers often recommend cleaning visible mildew before re-caulking. For example, DAP suggests a 1:10 bleach-to-water solution, then rinsing well and drying before reapplying in Step 6: Kill Mold and Mildew.
Safety notes matter here:
- The EPA warns never to mix bleach with ammonia-containing cleaners and to ventilate when using disinfectants in EPA’s mold/bleach guidance.
- Washington State DOH also explains that mixing bleach with ammonia releases toxic gases in its bleach-mixing hazard page.
One key truth about silicone
If you’re dealing with 100% silicone, don’t waste time hunting for a miracle dissolver—GE states plainly that “There is no substance that will dissolve silicone” in the removal notes of its silicone sealant datasheet. In practice, that means: mechanical removal first, then the right cleaner for the surface (often alcohol or mineral spirits where appropriate), again per GE’s surface-by-surface instructions.

Quick troubleshooting
- Caulk keeps tearing into tiny bits: Re-score deeper along both edges and use a softening gel as described in DAP’s soften-and-scrape steps.
- Oily/ghost residue won’t come off: Do a final wipe with isopropyl alcohol as recommended by DAP and supported in GE’s prep instructions.
- You’re worried about discoloration: Follow GE’s “test in a hidden area” advice for mineral spirits compatibility in its cured sealant removal section.
Summary
To remove caulk cleanly: score the edges, peel off strips, soften if needed, scrape residue, then wipe with isopropyl alcohol—a method laid out in DAP’s caulk removal guide. For cured silicone residue, follow surface-specific guidance like the one in the GE silicone sealant datasheet (including when mineral spirits is appropriate and when it’s not), and if you use bleach for mildew, follow EPA’s bleach safety warning and WA DOH’s mixing hazards.