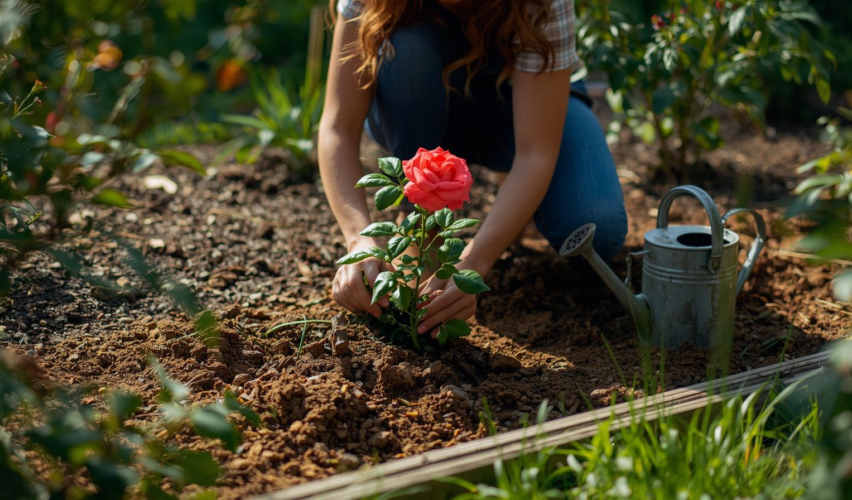
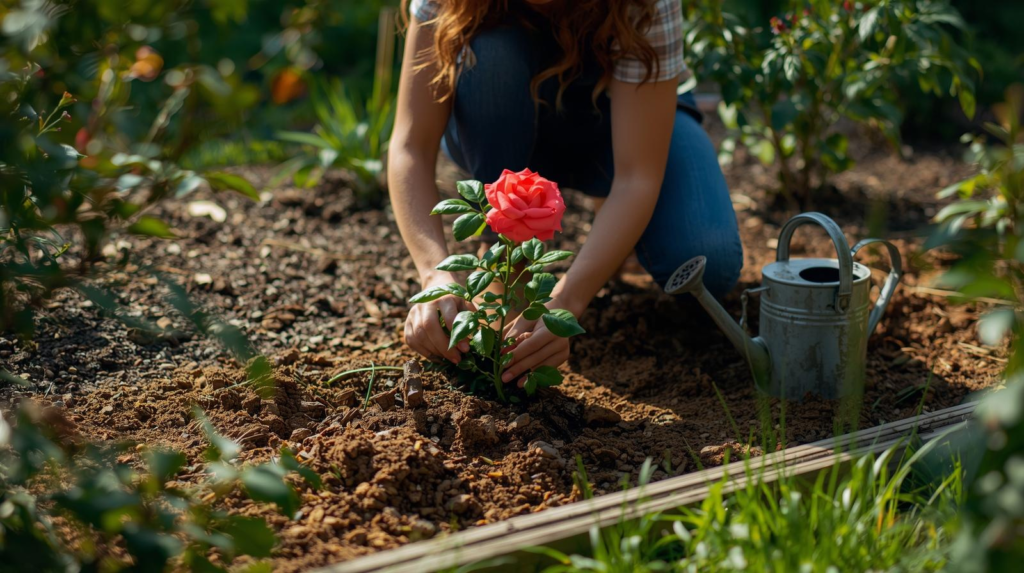
Planting roses is mostly about three things: sun, drainage, and planting at the right depth—especially if your rose is grafted (has a knobby “bud union” on the lower stem). When those basics are right, roses establish faster and perform better long-term. (Yard and Garden)
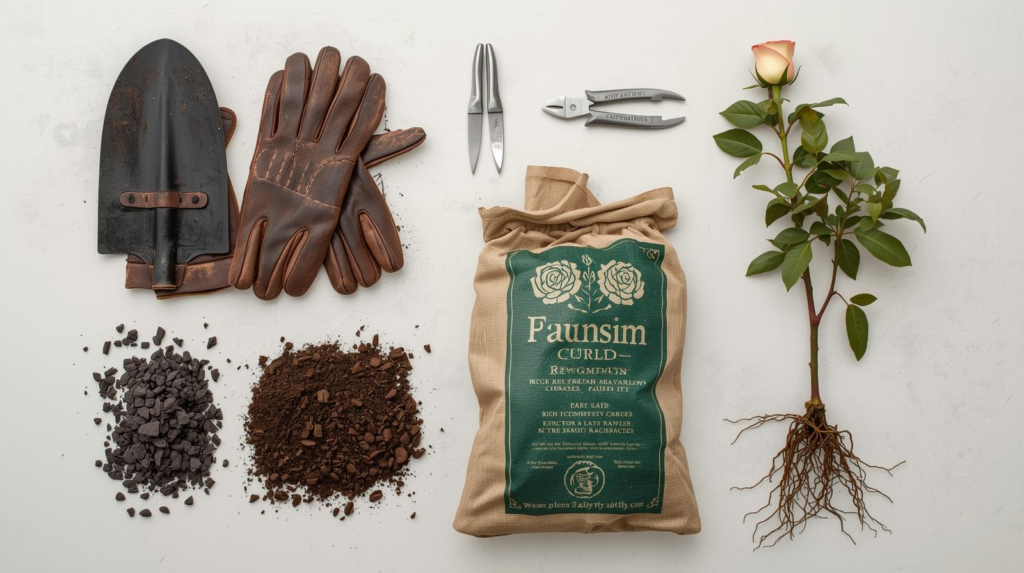
What you’ll need
- Garden gloves (rose thorns are no joke)
- Shovel/spade and a hand trowel
- Compost or other organic matter (for improving soil structure)
- Mulch (shredded bark, composted leaves, etc.)
- Water source (hose or watering can) (OSU Extension Service)
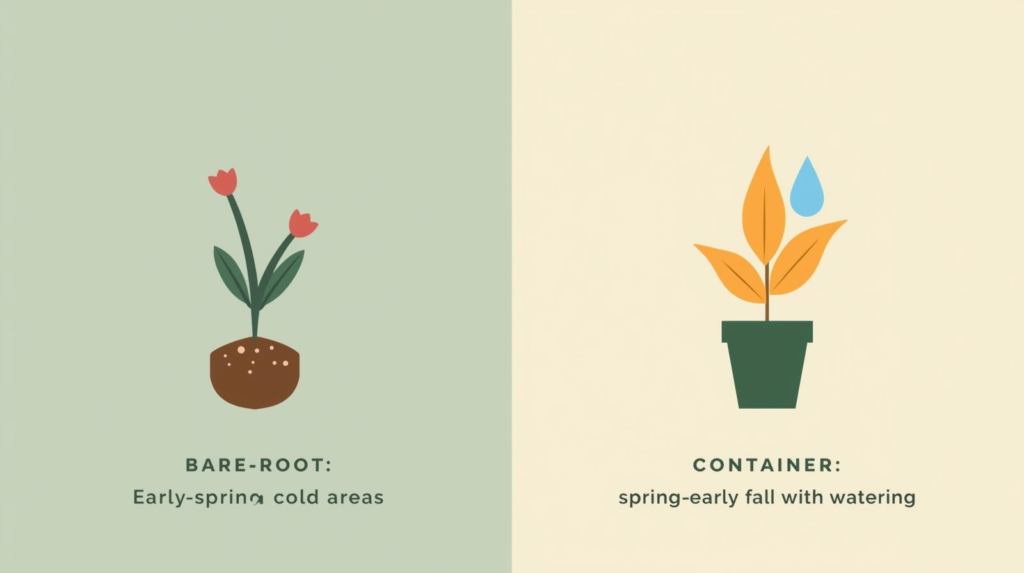
Step 1: Choose the right time to plant
Timing depends on how cold your winters get:
- If your area regularly drops below –10°F, spring planting is preferred for better survival. (MU Extension)
- In milder winter areas, fall or spring planting can both work well. (MU Extension)
- Bare-root roses are typically planted while dormant (often early spring in colder regions), while container roses can be planted through the growing season if you can keep up with watering. (MU Extension)
Step 2: Pick a site roses will actually like
Aim for:
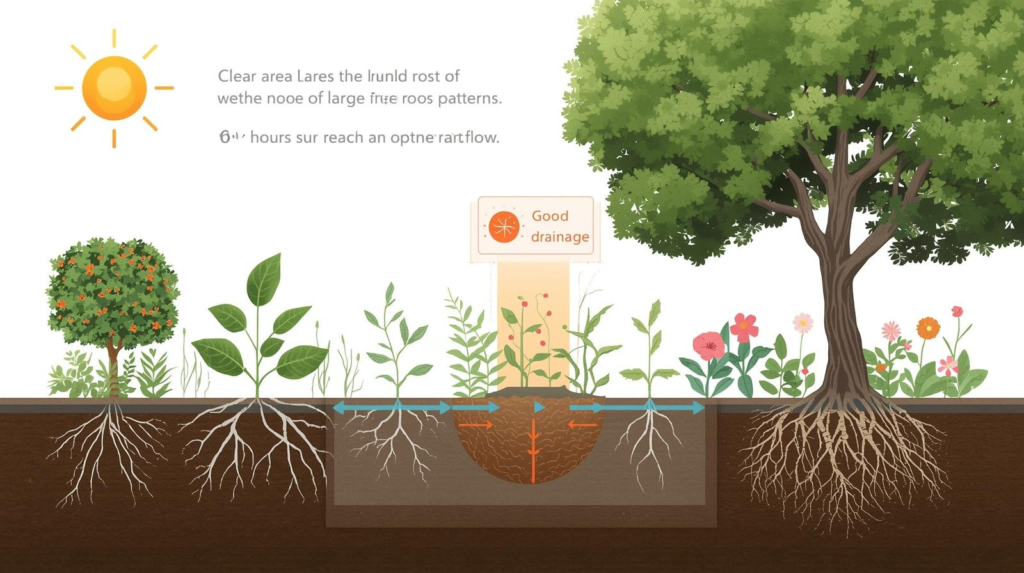
- Full sun: at least 6 hours daily (6–8 is even better), with morning sun especially helpful because it dries leaves earlier and reduces disease pressure. (Yard and Garden)
- Well-drained soil: roses dislike staying soggy; improving heavy or poor soil with organic matter helps drainage and root growth. (Yard and Garden)
- Room and airflow: avoid crowding next to trees/shrubs that compete for water and nutrients. (Illinois Extension)
Step 3: Prep the soil (fast version that pays off)
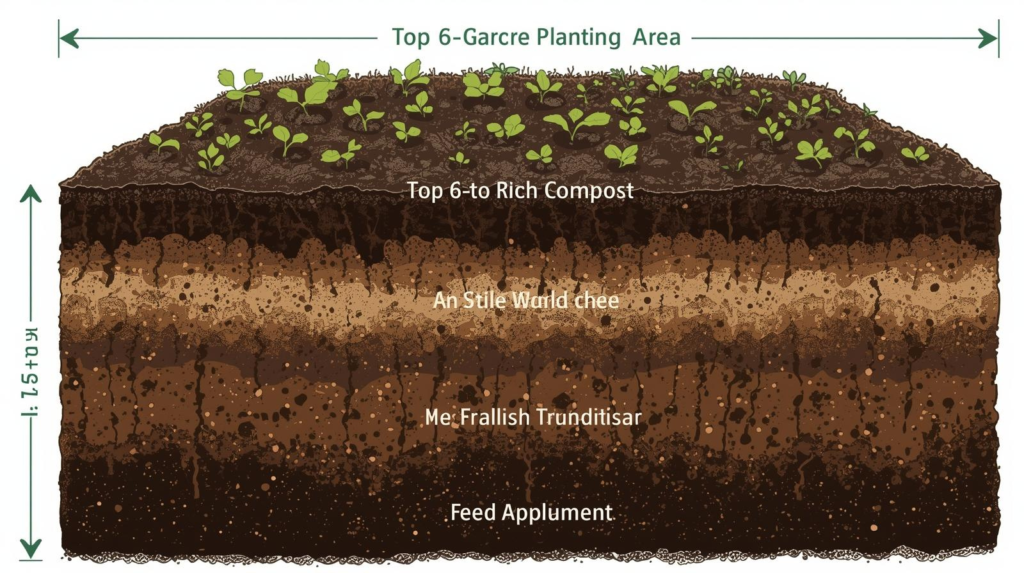
- Roses prefer soil with plenty of organic matter, and many guides recommend a slightly acidic to near-neutral pH—roughly 6.0–7.0 (often cited as ideal around 6.0–6.5). A basic soil test helps you avoid guessing. (Illinois Extension)
- If your soil is compacted, loosen and amend a wider area. Colorado State University Extension notes planting holes are commonly 18–24 inches wide and 14–18 inches deep, and may be larger in compacted soils. (CSU Engagement & Extension)
- If you can, mix compost into the planting area (not just the hole) to improve structure and moisture management. (OSU Extension Service)
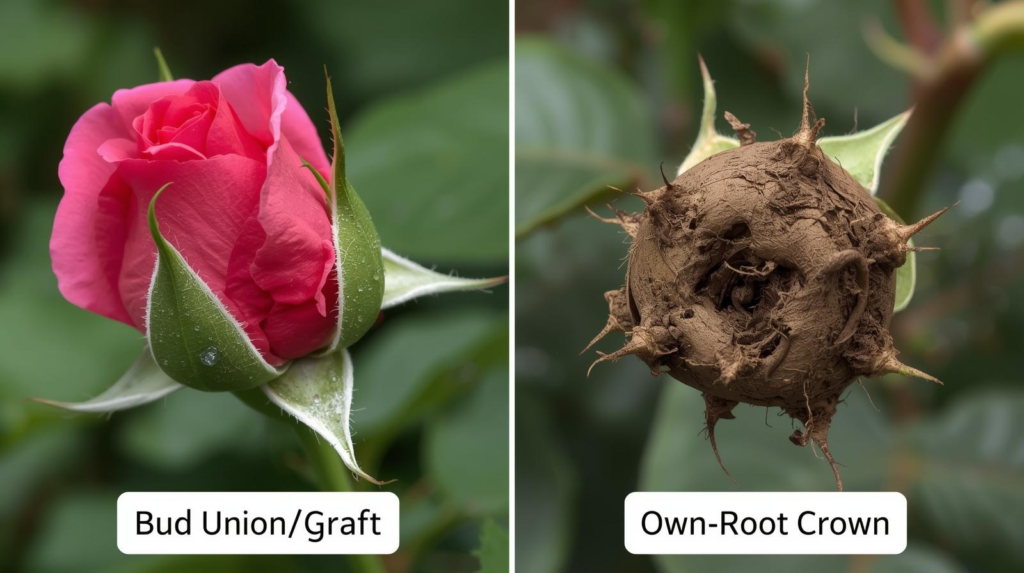
Step 4: Identify whether your rose is grafted or own-root
Look near the base of the canes for a swollen, knobby area:
- Grafted rose: has a visible bud/graft union (a bump/knuckle). Planting depth matters for winter protection. (OSU Extension Service)
- Own-root rose: no graft knob; it grows from its own roots and is usually planted with the crown slightly below soil level. (OSU Extension Service)
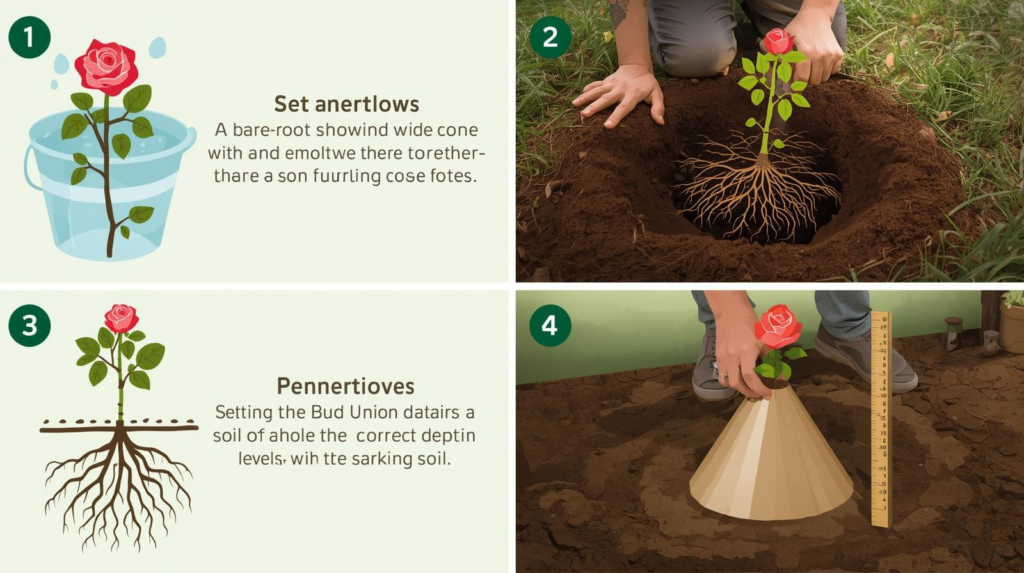
Step 5A: How to plant a bare-root rose (best step-by-step)
- Soak the roots in clean water for 2–24 hours to rehydrate them after shipping/storage. (OSU Extension Service)
- Dig a wide hole so roots can spread without bending or crowding. (CSU Engagement & Extension)
- Make a small cone/mound of soil in the bottom of the hole and drape the roots over it (this helps you position the plant and spread roots naturally). (OSU Extension Service)
- Set the bud union at the correct depth (this is the part that varies by climate):
- Cold climates (roughly zones 3–6): place the bud union 2–4 inches below the soil surface for winter protection. (OSU Extension Service)
- Warmer climates (roughly zones 7–11): place the bud union at soil level (some regional guides still recommend slightly below). (OSU Extension Service)
- Backfill and water thoroughly, settling soil around the roots. (Yard and Garden)
- In many cold-region bare-root methods, a temporary soil mound is used to protect canes during establishment; Oregon State notes it’s typically removed gradually as new growth appears (often within a few weeks). (OSU Extension Service)
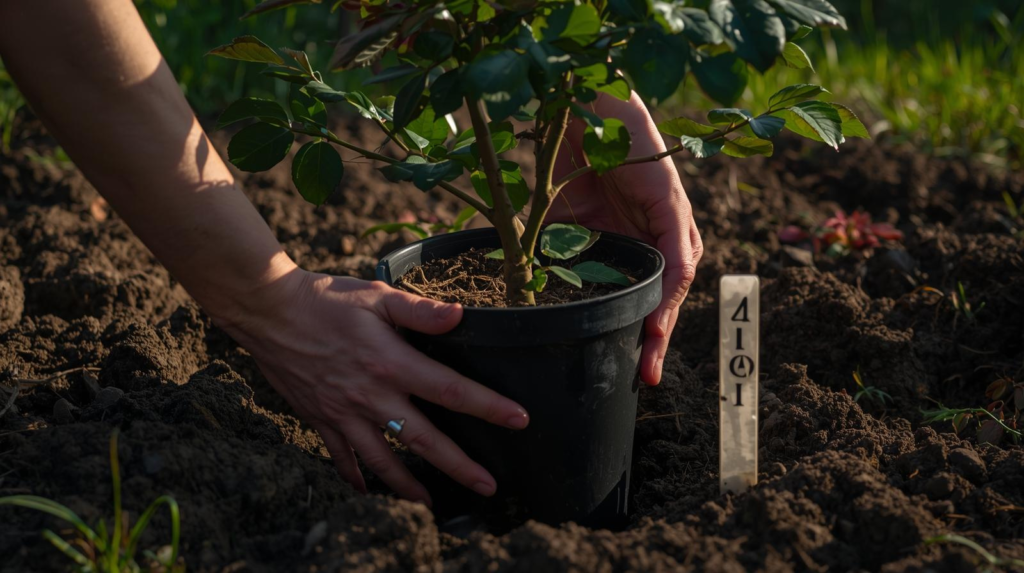
Step 5B: How to plant a container (potted) rose
- Water the pot first so the root ball holds together. (NMSU Publications)
- Dig a hole as deep as the root ball and wider than the pot so roots can expand outward. (CSU Engagement & Extension)
- Slide the rose out and gently loosen any circling roots if present, so they don’t keep spiraling. (Southern Living)
- Set the plant so the graft union ends up about 1–2 inches below soil level in cooler climates (many extension sources recommend slightly below). (NMSU Publications)
- Backfill, firm lightly, and water deeply. (NMSU Publications)
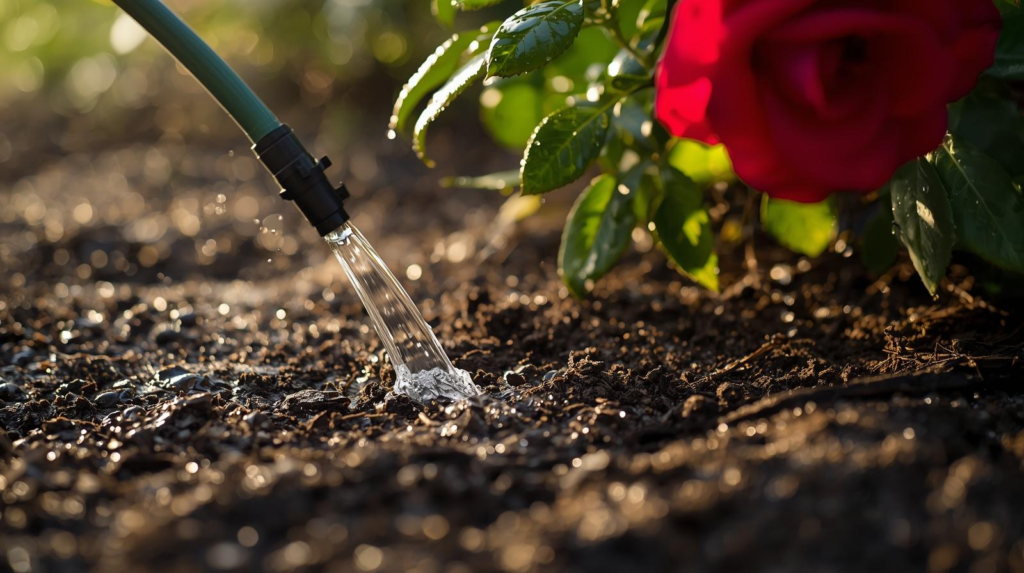
Step 6: Water correctly for the first few weeks
Right after planting, your goal is consistent moisture without waterlogging:
- Missouri Extension advises keeping soil moist but not saturated and watering when the top 1–2 inches of soil dries. (MU Extension)
- Oregon State’s rose guide recommends deep watering that wets the full root ball, letting soil just barely dry out between waterings (often every few days, depending on weather and soil). (OSU Extension Service)
- Water at the base and avoid frequent overhead watering to reduce disease risk. (Lake Ohio State University)
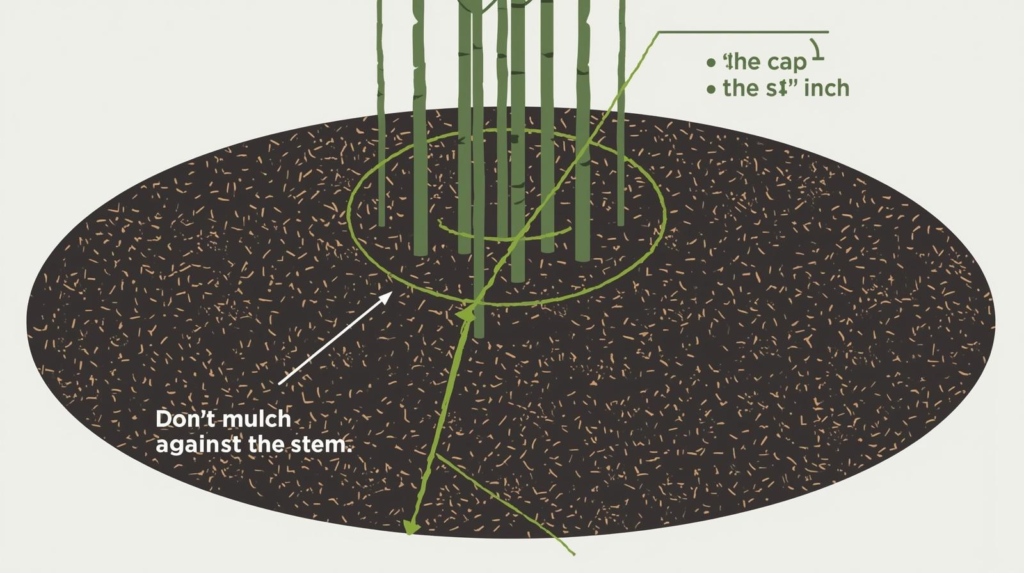
Step 7: Mulch the right way (this keeps new roses from struggling)
Mulch helps conserve moisture, suppress weeds, and moderate soil temperatures:
- A common recommendation is 2–3 inches of organic mulch, kept off the stem/canes (leave a small gap so you don’t trap moisture against the base). (MU Extension)
- Missouri Extension specifically recommends 2–3 inches and keeping mulch away from the base to form a watering basin. (MU Extension)
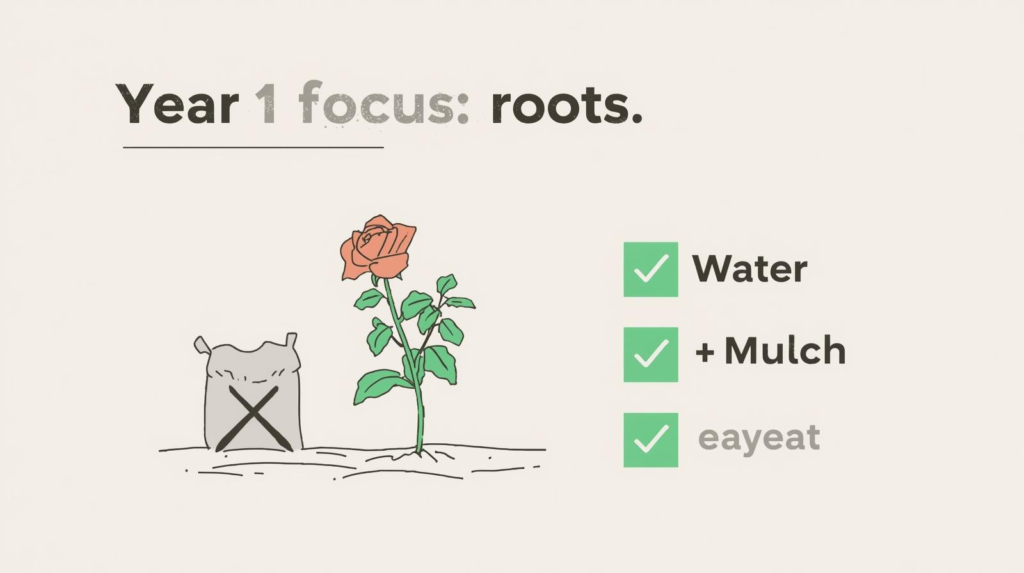
Step 8: Fertilizer and feeding (don’t rush this part)
Newly planted roses mainly need roots first.
- University of Nevada, Reno Extension advises not fertilizing new roses with nitrogen until after the first blooms (pushing lush growth too early can backfire). (Extension | University of Nevada, Reno)
- Many rose care schedules also emphasize stopping fertilizer late in the season to avoid tender growth heading into cold weather (exact cutoff varies by region). (Iowa State University Extension)
Quick troubleshooting after planting
- Rose looks wilted the first few days: Check soil moisture first; newly planted roses need steady moisture during establishment. (OSU Extension Service)
- No new growth after a few weeks (bare-root): Recheck planting depth and ensure the root zone never fully dried out. (OSU Extension Service)
- Leaf spots/mildew early on: Improve airflow, prioritize morning sun, and keep foliage drier when watering. (Purdue University)
Summary
To plant roses successfully: choose a sunny, well-drained site; prep soil with organic matter; plant at the correct depth (especially the graft/bud union); water deeply and consistently during establishment; and mulch 2–3 inches without piling it against the canes. Get those fundamentals right, and you’ll have a rose that roots in quickly and blooms more reliably.