Garlic is one of the easiest “plant it once, harvest it later” crops: you typically plant individual cloves in fall, let them overwinter, then harvest full bulbs in early to mid-summer. (University of Minnesota Extension) That long, cool growing season matters—garlic needs a cold period (vernalization) to trigger proper bulbing and clove separation. (CAES Field Report)
Garlic at a glance
- Planting: usually fall (after first killing frost / late fall window) (University of Minnesota Extension)
- Harvest: when lower leaves yellow/brown and upper leaves are still partly green (University of Minnesota Extension)
- Cure: dry bulbs in an airy spot for a few weeks before trimming and storing (University of Minnesota Extension)
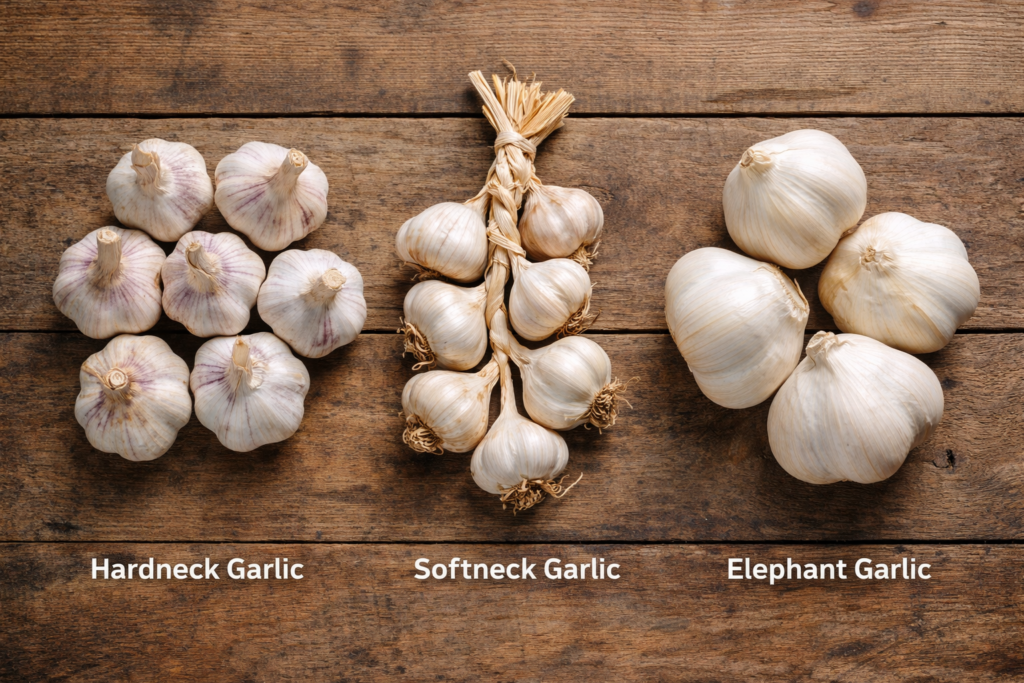
1) Choose the right garlic (this affects everything)
There are two main types:
- Hardneck: produces a flower stalk (“scape”) and often has fewer, larger cloves; tends to be more cold-hardy but usually stores for a shorter time. (University of Minnesota Extension)
- Softneck: usually doesn’t make a scape, often has more cloves, and is the type you can braid; it generally stores longer and does well in milder climates. (Plant Toolbox)
Also note: elephant garlic isn’t true garlic (it’s closer to leeks), and the flavor is milder. (University of Minnesota Extension)
Buy “seed garlic” (planting stock), not grocery-store heads. Store garlic may be treated to reduce sprouting, and it can carry disease risks or be poorly adapted to your area. (University of Minnesota Extension)
2) Pick the best spot and prep the soil
Garlic rewards good soil more than fancy techniques.
- Sun + drainage: Choose a sunny area with soil that drains well; compact, poorly drained beds can increase disease and lead to misshapen bulbs. (Ohioline)
- Soil pH: Aim for slightly acidic to neutral—many extension guides place garlic’s sweet spot around pH ~6.0–7.0 (often ~6.0–6.5 is ideal). (University of Minnesota Extension)
- Build fertility: Mix in finished compost or well-rotted manure to improve structure and moisture retention, but avoid fresh manure. (University of Minnesota Extension)
3) Time your planting (fall is the default)
Most gardeners get the biggest bulbs from fall planting because roots establish before winter and the plant is more mature going into bulbing. (Ohioline)
Practical timing rules you can trust:
- Plant after the first killing frost (common guidance) so you don’t get lots of tender top growth that can be winter-damaged. (University of Minnesota Extension)
- Many extension recommendations also frame this as several weeks before the ground freezes so cloves can root in. (lincolnu.edu)
- The “why”: garlic needs weeks of cold below ~40°F for vernalization to induce bulbing. (CAES Field Report)
Can you plant in spring? Yes, but yields are often smaller unless you give cloves a cold treatment and plant early. (Ohioline)
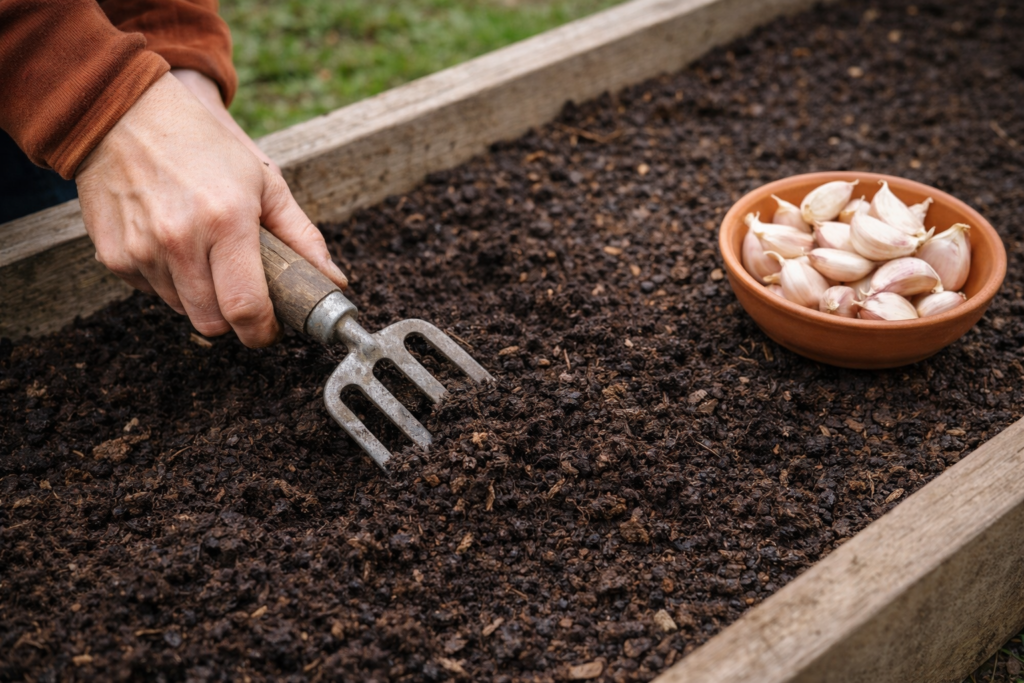
4) Plant garlic correctly (depth + orientation matter)
Step-by-step
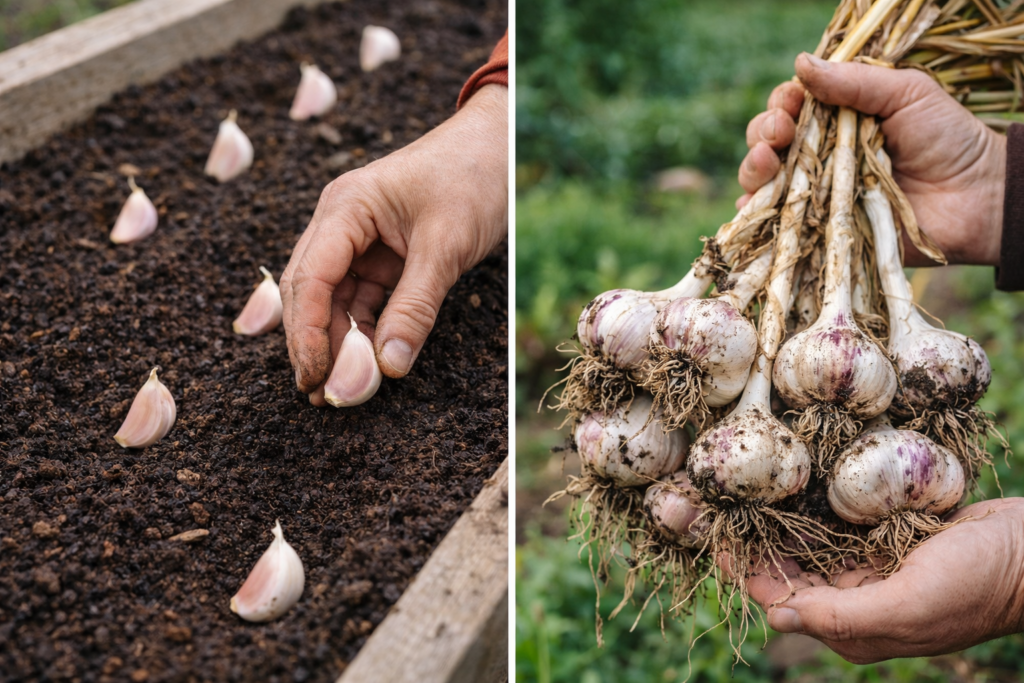
- Split bulbs into individual cloves shortly before planting; use the largest, healthiest cloves (small cloves usually make smaller bulbs). (University of Minnesota Extension)
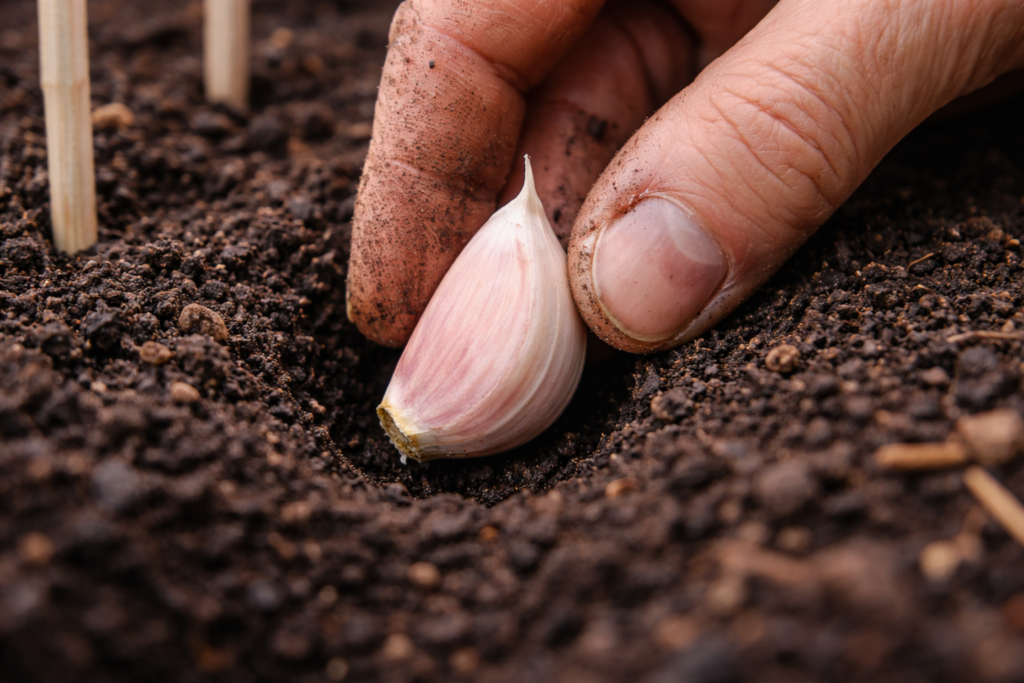
- Plant pointy end up, basal plate down (flat end is where roots form). Mis-oriented cloves can produce misshapen results. (University of Minnesota Extension)
- Set depth: common guidance is roughly 2–3 inches deep (measured to the base of the clove), adjusting slightly deeper in colder areas. (University of Minnesota Extension)
- Space for size: typical spacing ranges from about 4–6 inches apart (home gardens often use ~6 inches), with rows commonly 12–24 inches apart depending on your bed system. (University of Minnesota Extension)
- Water in after planting to settle soil and start rooting. (CAES Field Report)
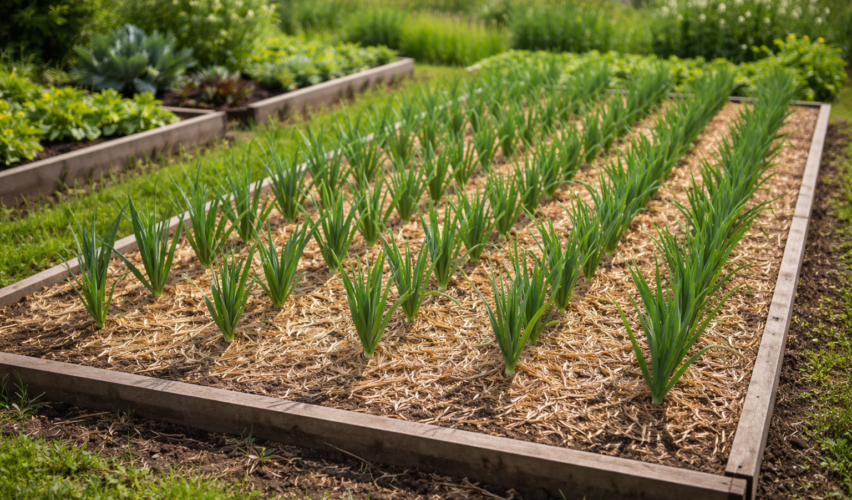
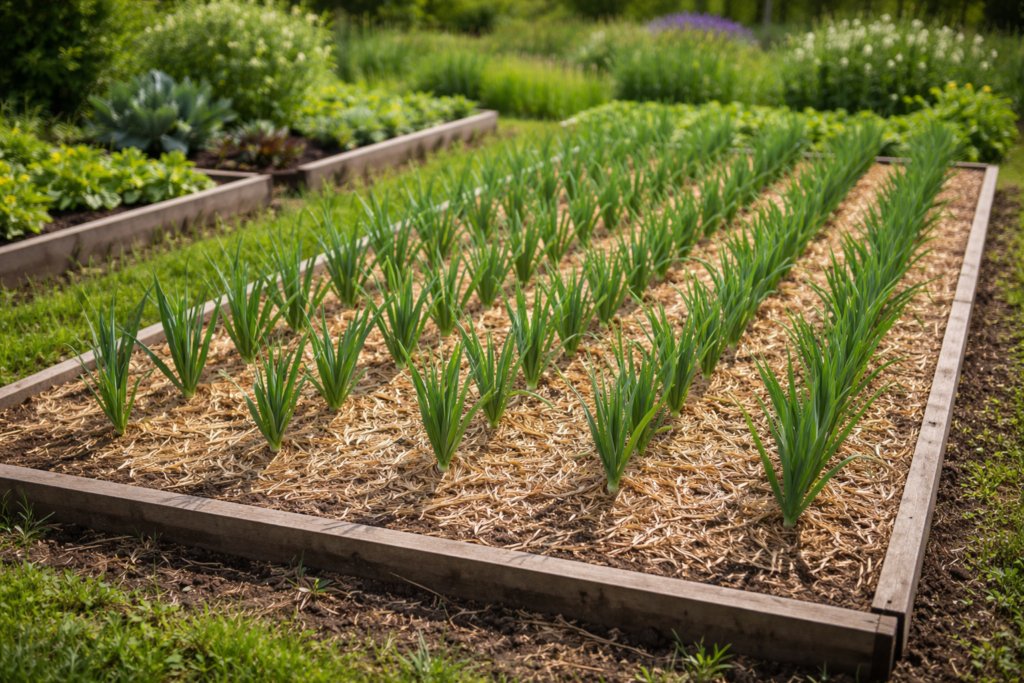
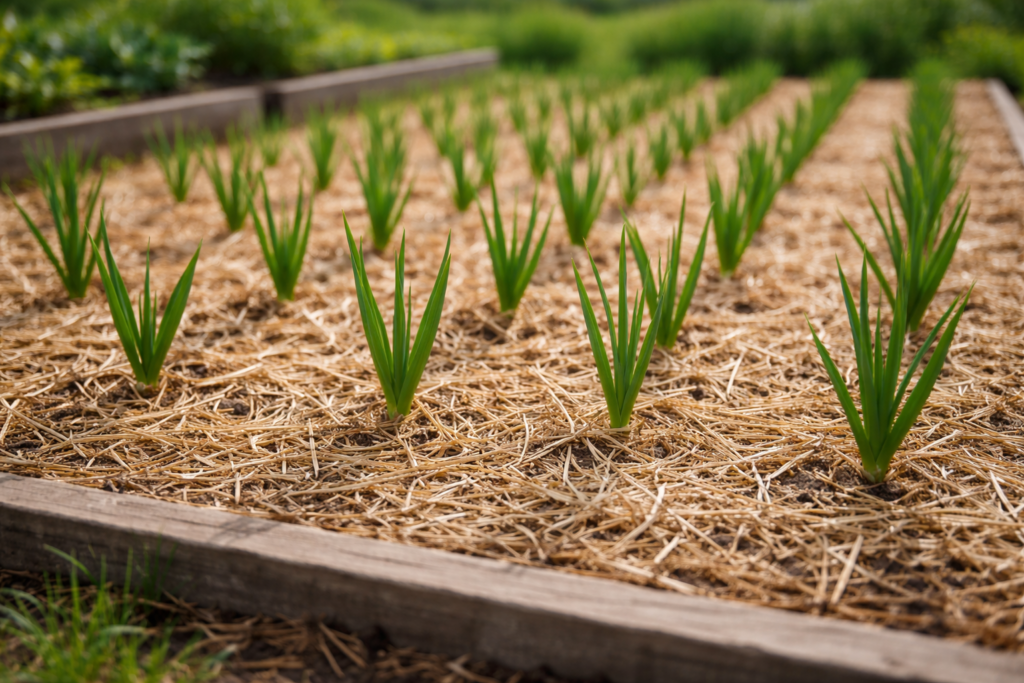
5) Mulch, weed, water, feed: the “big bulb” basics
Mulch for winter protection and weed control
A thick organic mulch helps buffer temperature swings and suppress weeds (straw and leaves are common). (University of Minnesota Extension) Some guides suggest raking mulch back when growth resumes, leaving it between rows to keep weeds down. (Ohioline)
Weed early (garlic hates competition)
Garlic competes poorly with weeds; staying ahead early in spring is one of the easiest ways to improve bulb size. (University of Minnesota Extension)
Water steadily, then dry down before harvest
A common target is about 1 inch of water per week during active growth (especially during bulb formation), then reduce/stop watering as plants yellow to help bulbs dry down and reduce rot risk. (University of Minnesota Extension)
Feed nitrogen early, then stop on time
Garlic is a moderate-to-heavy feeder. Many extension recommendations focus on nitrogen early (to build leaves that power bulb growth), then avoiding late nitrogen that can delay bulbing or curing. (University of Minnesota Extension)
Tip: If you do only one “extra” thing for garlic, make it weed control + consistent moisture in spring. Those two factors show up again and again in extension guidance. (University of Minnesota Extension)
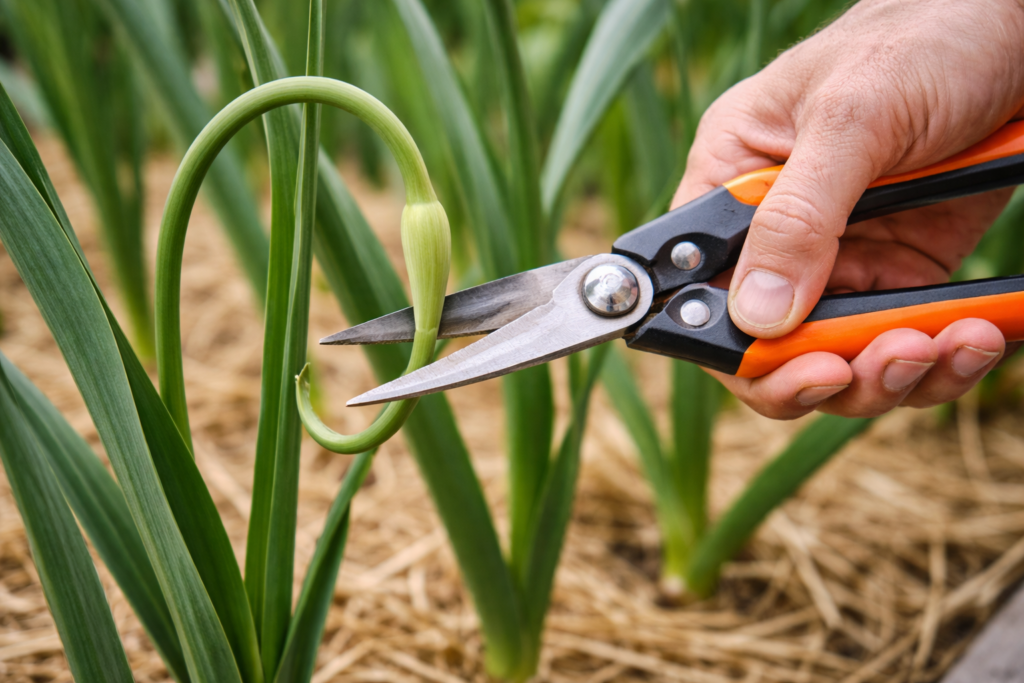
6) Harvest scapes (hardneck bonus crop)
Hardneck garlic sends up a curly stalk called a scape. Removing scapes shortly after they curl is commonly recommended so the plant puts more energy into the bulb, and scapes are excellent to eat. (University of Minnesota Extension) Ohio State Extension also notes scapes should be removed for better bulb size. (Ohioline)
7) Harvest at the right moment (not too early, not too late)
You’re aiming for bulbs with intact wrapper layers (those wrappers come from the leaves).
A reliable rule: start checking when lower leaves yellow/brown while the upper leaves are still partly green (often about half green). (University of Minnesota Extension) Harvesting too early can mean small bulbs; harvesting too late can mean cloves separating and poorer storage. (University of Minnesota Extension)
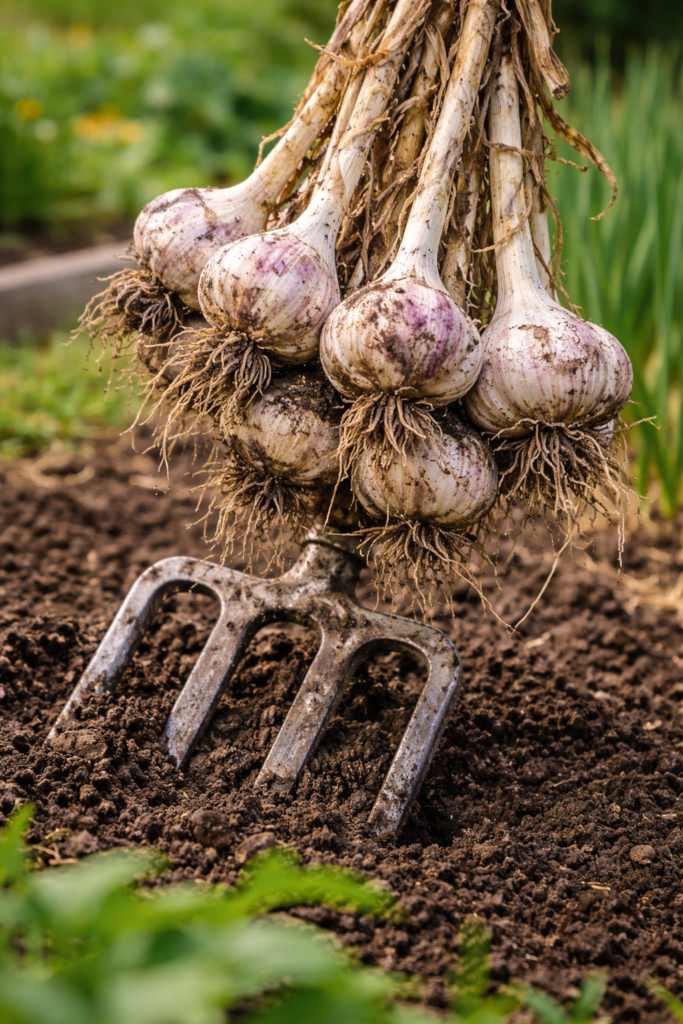
How to harvest
- Loosen soil with a fork/spade a few inches away from the plant. (lincolnu.edu)
- Lift—don’t yank by the leaves to avoid snapping stems or bruising bulbs. (lincolnu.edu)
- Knock off loose soil; don’t wash before curing (extra moisture slows drying). (University of Minnesota Extension)
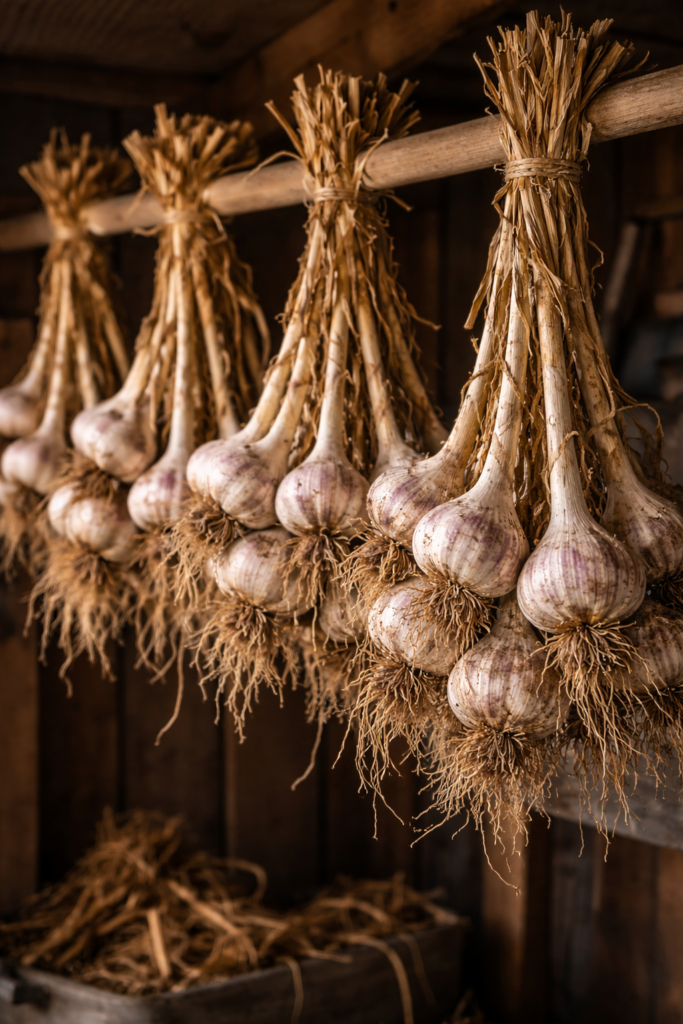
8) Cure garlic so it stores well
Curing is simply controlled drying: you’re drying the neck, roots, and wrapper layers so bulbs resist mold and sprouting.
- Many home-garden guides recommend curing in a warm, dry, airy place for a few weeks (often ~2–4 weeks, depending on humidity and airflow). (University of Minnesota Extension)
- Michigan State University Extension notes curing can be faster with optimal warmth and humidity control and emphasizes good airflow and proper dryness before storage. (Agri College)
Simple curing setup
- Hang in small bundles, or spread in a single layer on racks in shade with a fan for airflow. (Agri College)
- Keep bulbs out of direct sun to avoid sunscald. (Agri College)
When fully cured, trim tops and roots and keep the cleaner wrapper layers on. (University of Minnesota Extension)
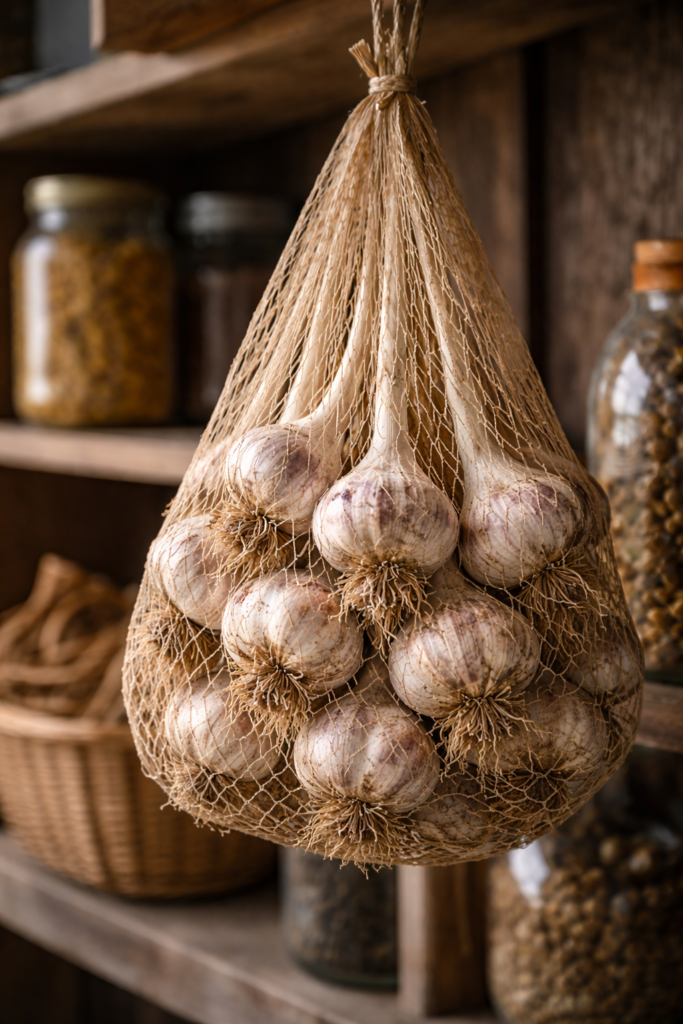
9) Store garlic (cool, dry, breathable)
Garlic stores best with airflow—think mesh bags, slatted crates, or braids—not sealed plastic. (OSU Extension Service)
Temperature and humidity matter:
- Oregon State University Extension cites an ideal storage temperature around 32–38°F with low humidity (under ~70%), and warns garlic sprouts fastest in the 40–60°F range. (OSU Extension Service)
- Ohio State University Extension recommends curing first, then storing above freezing but not higher than ~40°F with controlled humidity and good ventilation. (Ohioline)
Food-safety note (optional but important): If you store garlic in oil, follow tested guidance—improper garlic-in-oil storage can allow C. botulinum toxin risk. (OSU Extension Service)
10) Prevent the most common garlic problems
White rot (serious soilborne disease)
White rot spreads easily via contaminated soil and planting stock, and management emphasizes avoidance and sanitation—start with clean seed garlic and don’t move suspect soil around. (University of Maryland Extension) If it becomes established, it can persist for decades, so prevention is the best strategy for home gardens. (University of Maryland Extension)
Onion maggot (occasional pest)
Onion maggot larvae can tunnel into bulbs and create entry points for rot organisms. Crop rotation and sanitation (removing culls, not leaving damaged bulbs in beds) are common integrated approaches.
Rot from wet soil or late watering
Poor drainage and overwatering late in the season are consistent risk factors for bulb rot—keep beds well-drained and dry down as harvest approaches. (Ohioline)

A quick “success checklist”
- ☐ Plant healthy, large cloves of seed garlic (not grocery store heads). (Ohioline)
- ☐ Use full sun and well-drained soil with pH roughly 6–7. (University of Minnesota Extension)
- ☐ Plant in fall and mulch for winter protection. (University of Minnesota Extension)
- ☐ Keep weeds down and provide steady moisture in spring, then dry down before harvest. (University of Minnesota Extension)
- ☐ Cure thoroughly, then store cool, dry, and breathable. (University of Minnesota Extension)
Summary
To grow great garlic, focus on four things: choose the right type (hardneck vs softneck), plant at the right time (usually fall), keep plants relatively stress-free in spring (low weeds + steady moisture + timely nitrogen), and harvest/cure properly for long storage. (Ohioline)
Related Articles
https://homeandgardenworld.com/advice/how-to-grow-cilantro