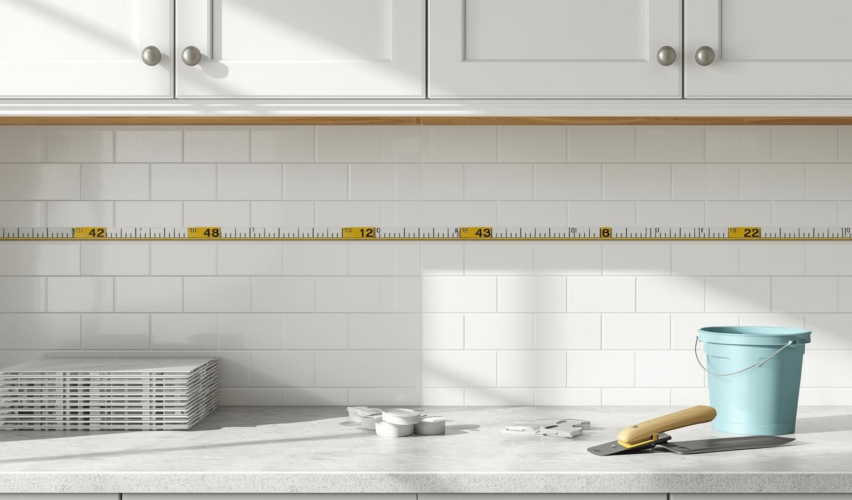
A tile backsplash is one of the most satisfying upgrades you can do in a kitchen—because it’s highly visible, fairly small, and very forgiving if you plan well. The keys are (1) a clean, flat surface, (2) the right adhesive for your tile and wall, and (3) careful layout so you don’t end up with awkward slivers.
Tools and materials checklist
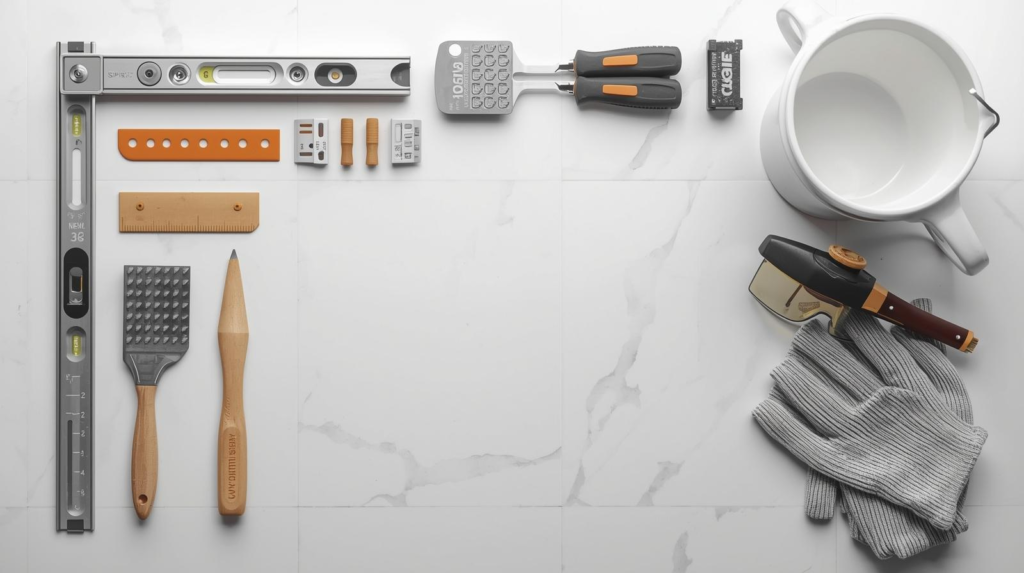
Tools
- Tape measure, pencil, painter’s tape
- Level (2–4 ft) or laser level
- Utility knife + putty knife (for prep)
- Notched trowel (size depends on tile)
- Rubber grout float
- Tile cutter or wet saw (recommended)
- Mixing paddle + drill (if using thinset)
- Spacers or leveling clips (optional)
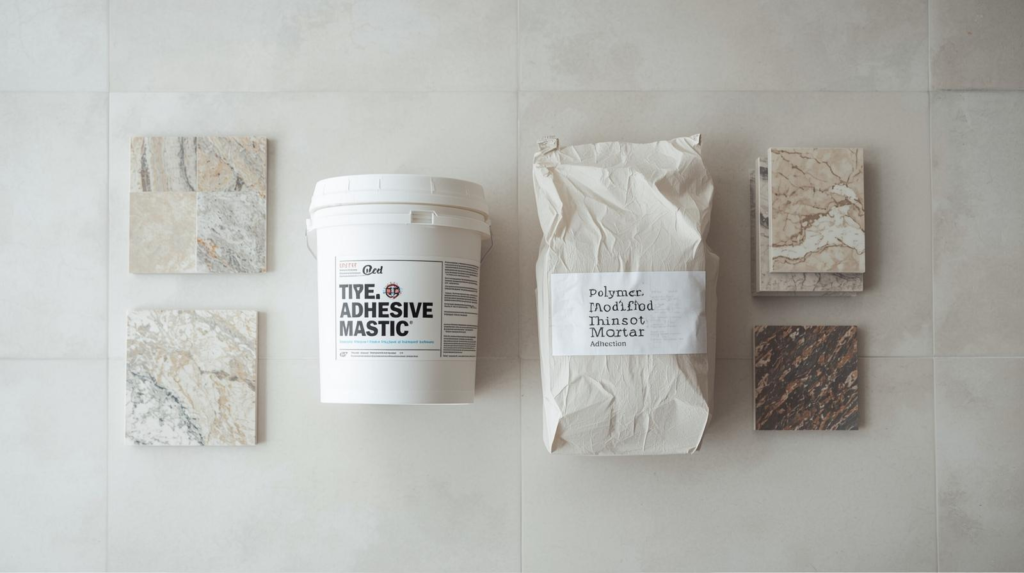
Materials
- Tile + 10% extra for cuts and waste (more if your layout has lots of diagonals or niches)
- Adhesive: premixed tile adhesive (mastic) or thinset mortar (how to choose is below)
- Grout (sanded/unsanded or single-component)
- 100% silicone or tile sealant for corners and countertop joint (not grout) per TCNA guidance on changes of plane (Tile Council of North America)
- Primer (sometimes), patching compound, or skim coat (as needed)
- Electrical box extenders (often needed)
Safety first (quick but important)
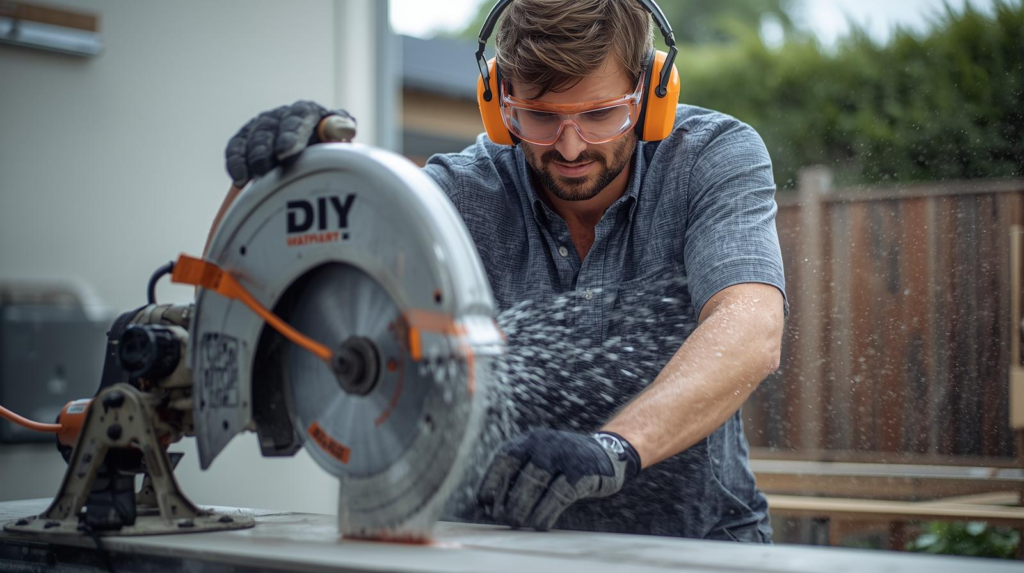
- If you’re cutting tile, silica dust is a real hazard; OSHA lists wet cutting with an integrated water delivery system as a control method for saws (OSHA) and also explains that using water reduces dust generation (OSHA).
- If your home is pre-1978, disturbing painted surfaces can create lead dust; EPA warns DIY renovation work in pre-1978 homes can generate dangerous lead dust (Environmental Protection Agency).
Step 1: Choose the right adhesive (this prevents most failures)
When premixed adhesive (mastic) makes sense
Mastic is popular for backsplashes because it’s ready-to-use and has strong initial “grab.” If you go this route, pick a product that meets ANSI A136.1 Type 1 (a common performance category for organic adhesives) like MAPEI Type 1, which states it exceeds A136.1 Type 1 .
Use mastic when:
- Your wall is dry-area gypsum wallboard (drywall); MAPEI lists “Gypsum wallboard – interior walls in dry areas only” as a suitable substrate .
- Your tile is reasonably sized; MAPEI notes “excellent grab” up to 12″ x 12″ on walls .
- The backsplash is not a constantly wet surface (not a shower).
Avoid mastic for:
- Natural stone or glass tile; MAPEI explicitly says do not use to set glass tile or natural stone .
- Areas subject to water immersion; MAPEI lists no steam rooms, shower floors, or immersion areas .
When thinset mortar is the better choice
Thinset is the go-to for tougher situations (stone, glass, large/heavy tile, moisture-prone zones). Modern mortars are categorized by performance standards like ANSI A118.4 / A118.11 / A118.15 (with A118.15 being a higher-performance category) as summarized in MAPEI’s ANSI overview (GlobalLanding) and shown on products like Schluter ALL-SET, which lists compliance with ANSI A118.4T, A118.11, and A118.15 (Schluter).
Rule of thumb: if you’re using glass tile, natural stone, or large-format tile, pick a quality thinset and follow the tile manufacturer’s instructions.
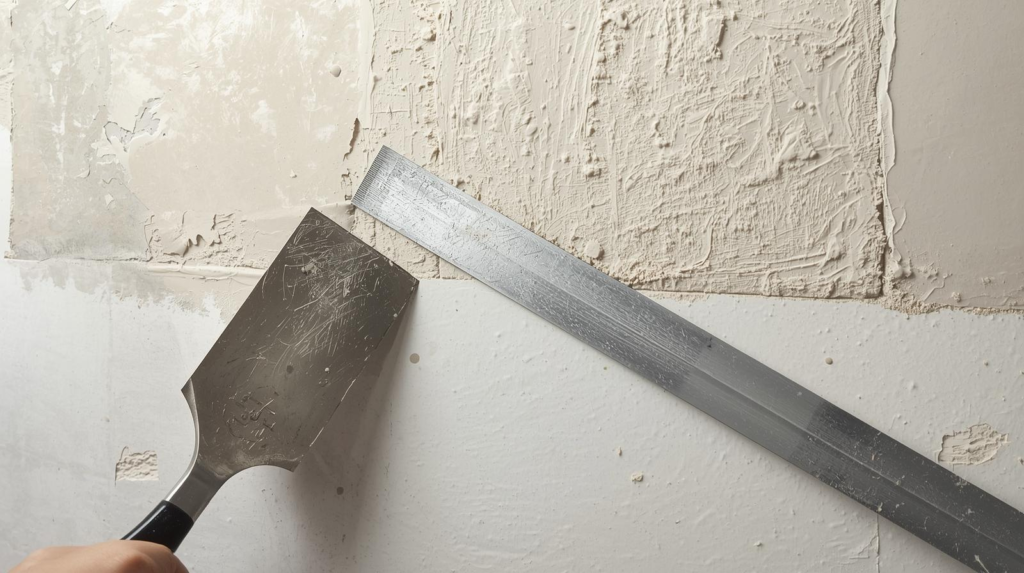
Step 2: Prep the wall so tile actually sticks
A backsplash is only as good as what’s behind it. Your wall should be sound, stable, clean, and free of anything that blocks adhesion, which is the same kind of surface expectation listed in tile adhesive technical sheets like MAPEI’s “structurally sound… dry, clean” requirement .
Do this:
- Remove outlet covers and turn off power at the breaker for the backsplash circuit.
- Degrease the wall (kitchens build up invisible oils).
- Scrape off bumps and fill dents; sand lightly (or wet-sand if lead paint is a risk).
- Check flatness with a level or straightedge; industry guidance for substrate tolerance is often around 1/4″ in 10 feet for smaller tile per a Custom Building Products tolerance summary (CUSTOM Building Products), with tighter needs for larger tile (CUSTOM Building Products).
- Prime if your patching compound or wall paint requires it (follow product directions).
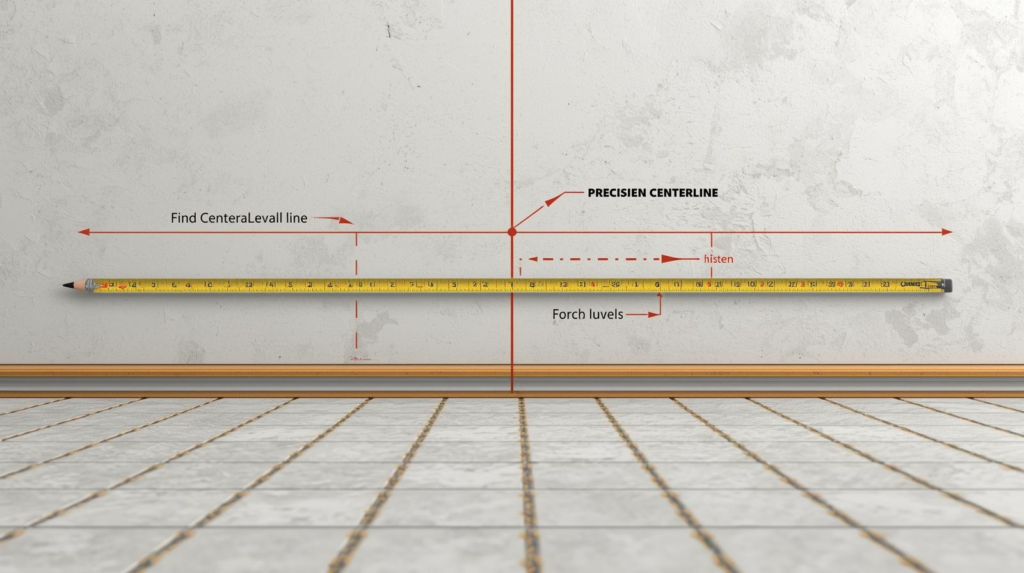
Step 3: Plan your layout (this is where it starts looking ‘custom’)
Layout is what separates “fine” from “wow.”
- Find your focal point (often the stove area or sink centerline).
- Dry-fit a row of tile on the counter with spacers to see where cuts will land.
- Aim to avoid skinny cuts at edges; shift the layout so end pieces look intentional.
- Draw a perfectly level reference line for your first “real” row—counters aren’t always level.
Tip: If you’re using large-format tile in a brick pattern, lippage becomes more obvious; TCNA has discussed how staggered patterns can exaggerate lippage with large format and narrow joints (Tile Council of North America).
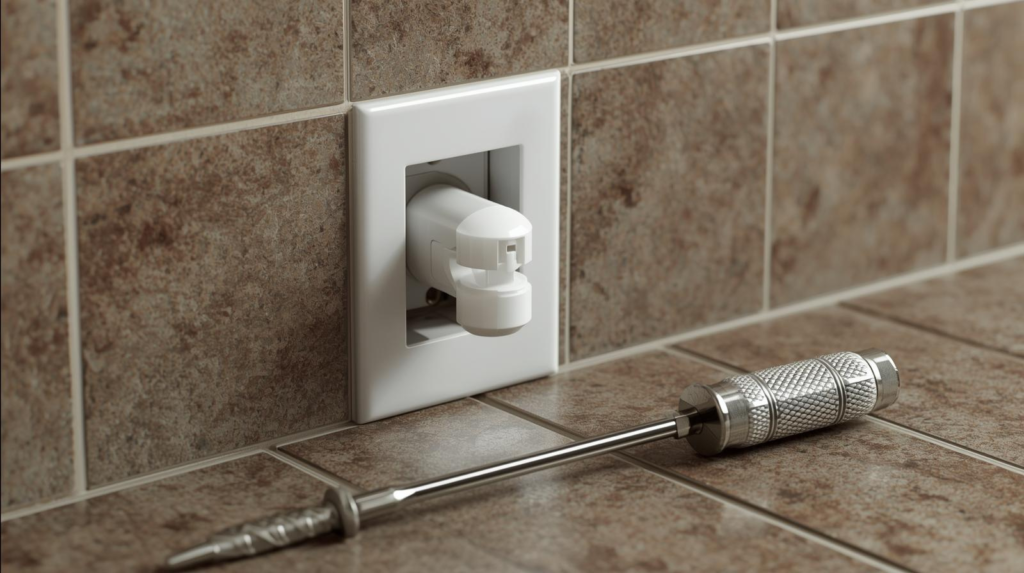
Step 4: Deal with outlets the right way (don’t skip this)
After tile goes up, outlets often sit too deep. The National Electrical Code section on flush-mounted boxes limits how far boxes can be set back; it states the front edge shall not be set back more than 1/4 inch from the finished surface in certain installations (Electrical License Renewal). That’s why listed box extenders are commonly used (and widely recommended in DIY guidance) (Family Handyman).
If you’re not comfortable working with wiring, this is the best time to hire an electrician.
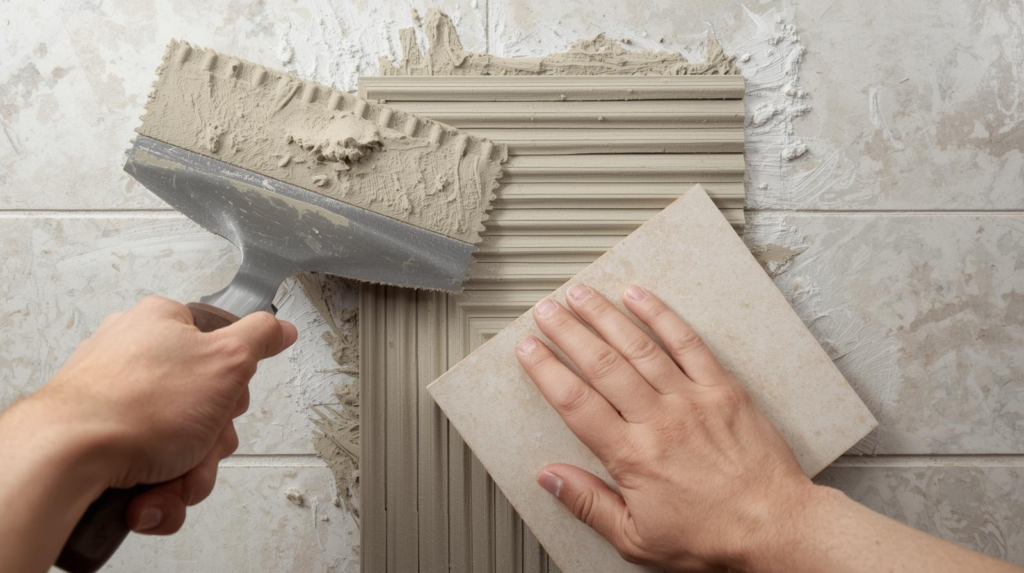
Step 5: Spread adhesive correctly (coverage matters)
Two standards-based ideas matter most here:
- Minimum coverage: Tile standards commonly call for 80% mortar/adhesive coverage in dry areas (Ceramic Tile Foundation).
- Proper technique: Comb adhesive in one direction, then press and slide tile to collapse ridges; MAPEI instructs combing in one direction and pushing tiles back-and-forth to collapse ridges ; Schluter similarly describes embedding tile with a back-and-forth motion (Schluter).
How to do it
- Work in small sections (a few square feet).
- Use the flat side of the trowel to “key in” a thin layer first.
- Add more and comb with the notched side in straight lines.
- Set tile, press firmly, and shift slightly to collapse ridges.
- Lift a tile occasionally to verify coverage.
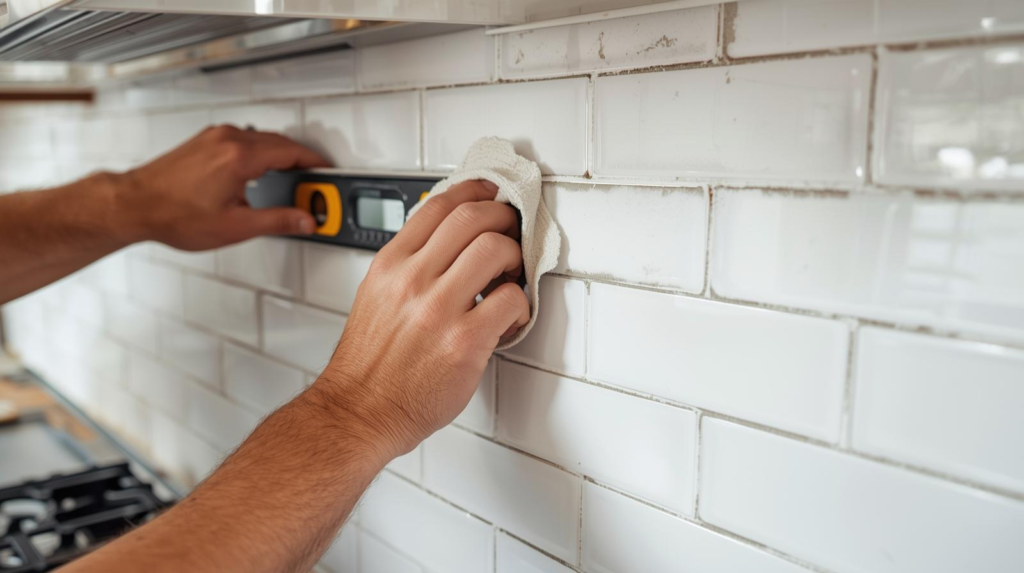
Step 6: Set tile, keep lines straight, and clean as you go
- Use spacers (or built-in lugs) for consistent joints.
- Check alignment every few tiles with a level.
- Keep adhesive out of grout joints; it makes grouting harder later.
- Wipe the tile face before adhesive cures.
If you’re using a mastic like MAPEI Type 1, it warns that cool, moist conditions and porcelain tile can extend firm-set time —so don’t rush grouting.
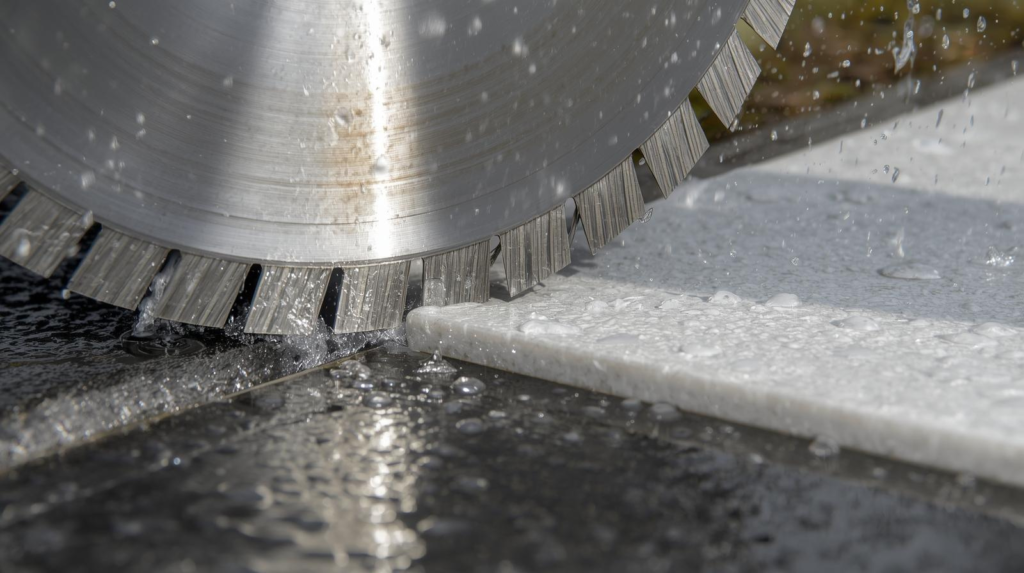
Step 7: Cut tile neatly (without a mess)
- Use a score-and-snap cutter for ceramic subway tile.
- Use a wet saw for porcelain, stone, or tricky cuts.
- For outlets, measure carefully and make L-cuts or U-cuts.
To reduce dust exposure while cutting, OSHA lists saws with continuous water feed as a specified control method (OSHA).
Step 8: Let it set, then grout
Follow your adhesive’s cure guidance:
- A mastic like MAPEI Type 1 says tiles typically reach a firm set after ~24 hours before grouting and to protect from water until final set .
- Thinset cure times vary by product, tile type, and temperature—follow the bag.
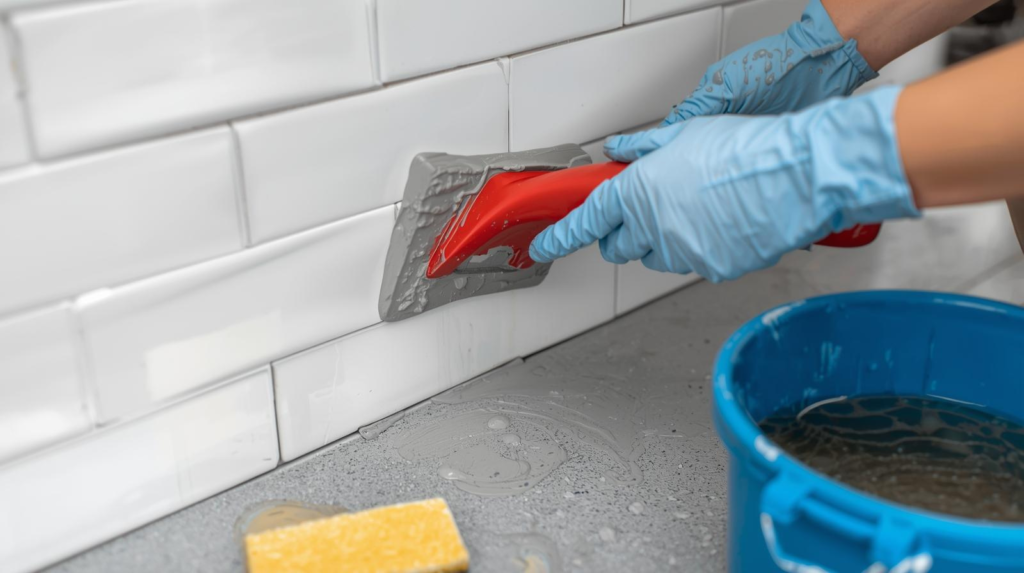
Grouting basics
- Mix grout (or open single-component grout).
- Pack joints with a rubber float at a 45° angle.
- Wipe with a damp sponge in light passes.
- Buff haze with a dry microfiber cloth later.
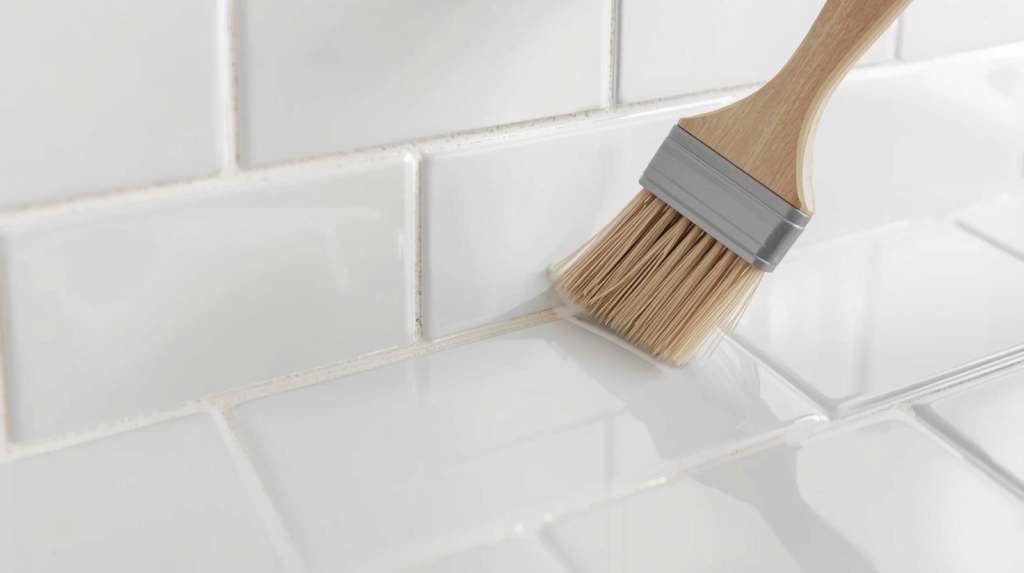
Step 9: Caulk corners and the countertop joint (don’t grout these)
At any change of plane (inside corners, where tile meets countertop), use a flexible sealant. TCNA explains that caulk should be used instead of grout at changes in substrate/backing because surfaces move independently (Tile Council of North America).

Step 10: Sealer and final cure (only if your grout needs it)
Not all grouts require sealing, but if you’re sealing a cementitious grout, MAPEI notes a common window is after 24–72 hours of grout cure, depending on manufacturer instructions (Mapei).
Quick troubleshooting (common backsplash problems)
- Tile slides down the wall: use a ledger board or painter’s tape support; consider thinset with better non-sag properties for larger tile (many mortars include slip-resistant classifications in ANSI categories) (GlobalLanding).
- Uneven tile edges (lippage): wall wasn’t flat enough; refer back to flatness tolerances (CUSTOM Building Products).
- Cracked grout in corners: you used grout instead of sealant at a change of plane (Tile Council of North America).
Summary
To tile a backsplash successfully: pick the right adhesive (mastic for small ceramic/porcelain in dry areas per Type 1 guidance ; thinset for tougher tile types and higher-performance needs (GlobalLanding)), prep a clean/flat wall , plan your layout, set tile with proper coverage techniques (Ceramic Tile Foundation), grout after the adhesive cures , and use caulk—not grout—at corners and the countertop joint (Tile Council of North America).
Related Articles
https://homeandgardenworld.com/home-design/how-to-remove-caulk
https://homeandgardenworld.com/home-design/how-to-know-if-a-wall-is-load-bearing