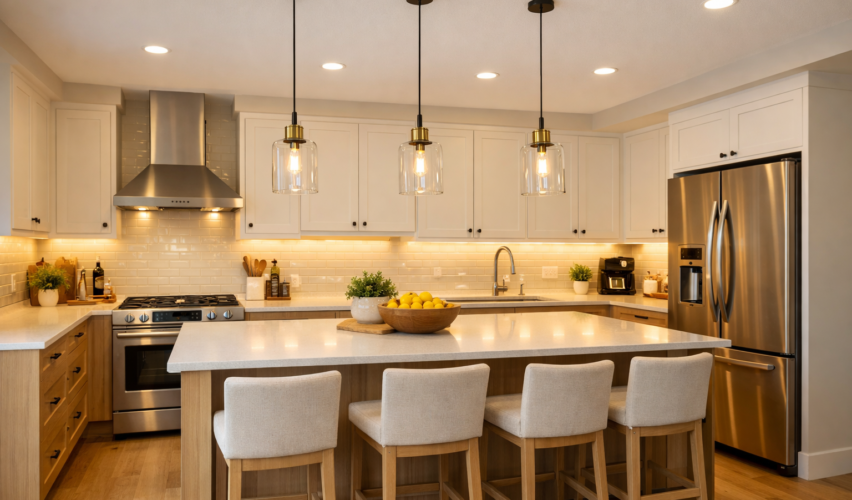
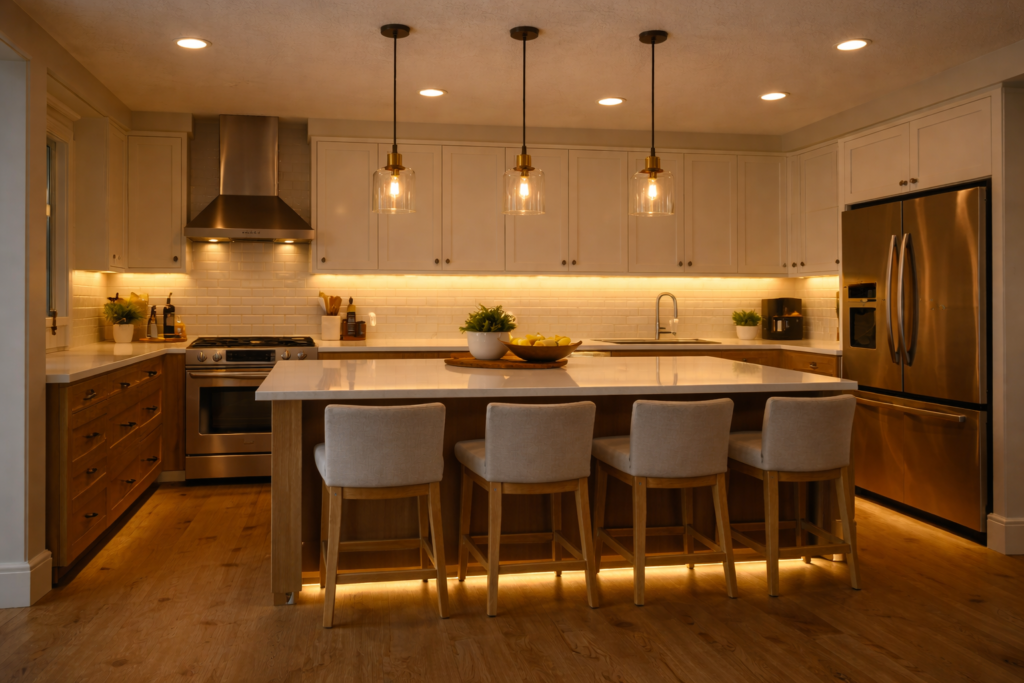
Kitchen lighting is the hardest-working lighting in the house. It has to be bright enough for chopping and reading recipes, balanced enough to avoid harsh shadows, flattering enough for everyday life, and flexible enough to shift from “weekday dinner prep” to “friends hanging at the island.”
This guide covers kitchen lighting from every angle: the lighting layers you need, how bright to go, how to choose color temperature and CRI, the best fixture types for each zone, spacing and placement rules, controls and smart lighting, common mistakes, and room-by-room solutions for different kitchen layouts.
The golden rule: kitchen lighting should be layered
Designers and lighting organizations consistently recommend building a kitchen around three layers:
- Ambient (general) lighting: fills the room
- Task lighting: focused light for work areas
- Accent lighting: adds depth, highlights features, creates mood (alalighting.com)
If you only do one layer (usually recessed lights), kitchens tend to feel flat, shadowy at counters, and “sterile.” Better Homes & Gardens specifically calls out lack of under-cabinet lighting and too many recessed lights as common mistakes. (Better Homes & Gardens)

How bright should kitchen lighting be?
There are two useful ways to talk about brightness: lumens (how much light a fixture produces) and illuminance (how much light actually lands on your surfaces).
A practical target for real kitchens
- Better Homes & Gardens suggests about 70–80 lumens per square foot for kitchen task areas. (Better Homes & Gardens)
- The Illuminating Engineering Society (IES) is often summarized as recommending about 30–50 footcandles for kitchens. (usailighting.com)
You don’t need to hit those numbers with ceiling lights alone. In a well-designed kitchen, under-cabinet and island task lighting does a lot of the heavy lifting, which lets your ambient layer be comfortable (not blinding).
Quick brightness calculator you can actually use
- Measure kitchen area (length × width = square feet)
- Multiply by 50–80 lumens/sq ft to get a planning range (Better Homes & Gardens)
- Split that total across layers (rough guide):
- 40–60% ambient
- 30–40% task
- 10–20% accent (often on dimmers)

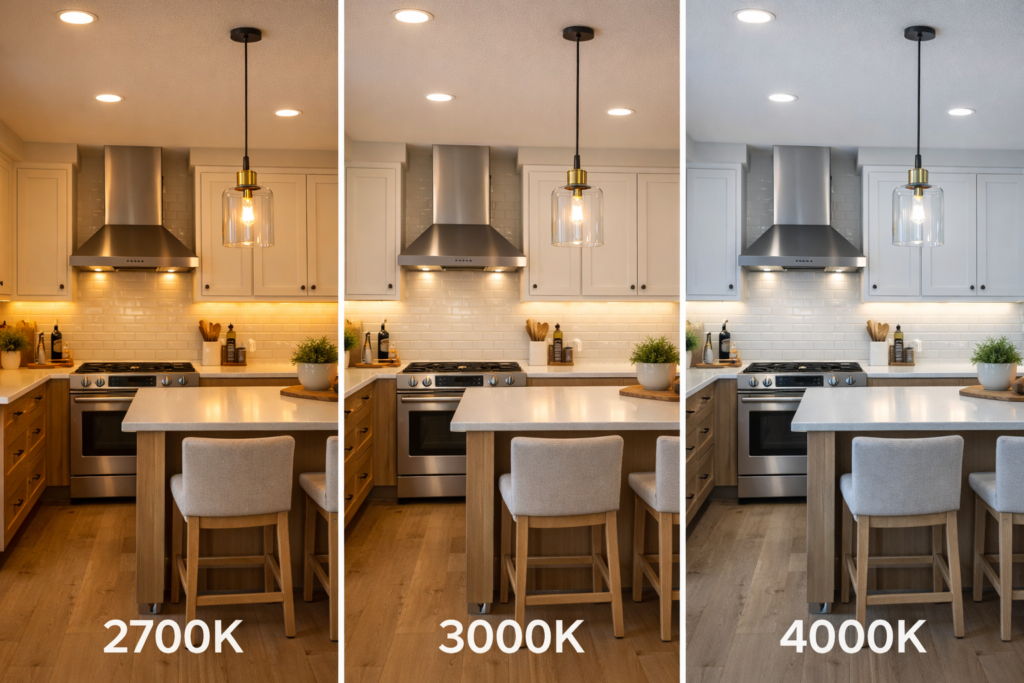
Color temperature and CRI: why some kitchens feel “off” even when they’re bright
Color temperature (Kelvin) sets the vibe
- Warm and cozy: 2700K–3000K
- Balanced/clean but still residential: 3000K–3500K
- Crisp/cool: 4000K+ (often feels more commercial)
ENERGY STAR’s “Top Builder Tips” guide notes 2700K–3000K are preferred residentially and explains how CCT affects perceived warmth. (ENERGY STAR)
A very workable approach for most homes:
- Use 3000K across the kitchen if you want a clean look that still feels warm
- Use 2700K if your home is very traditional/cozy and you want continuity with adjacent living spaces
- Consider tunable white only if you’ll actually use it (it can be great, but consistency matters)
CRI affects how food, cabinets, and countertops look
CRI is color rendering (0–100). Higher CRI generally makes colors look more natural.
ENERGY STAR’s builder lighting guide notes that IES recommends CRI 80+ for home environments and suggests 90s in areas where color quality matters more. (ENERGY STAR)
Practical takeaway:
- Aim for CRI 90+ for under-cabinet lights and island pendants if possible (your food and surfaces will thank you)
- CRI 80 is “fine,” but kitchens benefit from better color quality more than most rooms
Step-by-step: how to design a kitchen lighting plan that works
Step 1: Mark your kitchen zones
Walk the space and list every activity:
- Prep zone (main counters)
- Sink zone
- Cook zone (range/cooktop)
- Island (prep + seating)
- Pantry
- Dining nook (if part of kitchen)
- Traffic paths
Lighting becomes easy when you design for zones instead of “the room.”
Step 2: Pick your ambient strategy
Your ambient layer should make the kitchen usable on its own, but it shouldn’t be the only layer.
Common ambient options:
- Recessed downlights (popular, clean ceiling)
- Flush-mount or semi-flush fixtures (great in smaller kitchens)
- Linear fixtures (excellent for long galley kitchens)
- Indirect lighting (coves or upper-cabinet glow in higher-end plans)
Step 3: Add task lighting where hands and knives live
Task lighting is what eliminates shadows. Your best task tools:
- Under-cabinet lighting on perimeter counters
- Pendants or a linear fixture over an island
- Focused light over the sink
Better Homes & Gardens notes that wall cabinets block overhead light and create shadows on work surfaces, which is why under-cabinet lighting is so effective. (Better Homes & Gardens)
Step 4: Add accent lighting for depth (the “expensive” layer)
Accent lighting isn’t fluff. It’s what makes a kitchen feel designed at night.
- Toe-kick lighting
- Glass cabinet interiors
- Open shelf lighting
- Above-cabinet uplight (in the right kitchens)
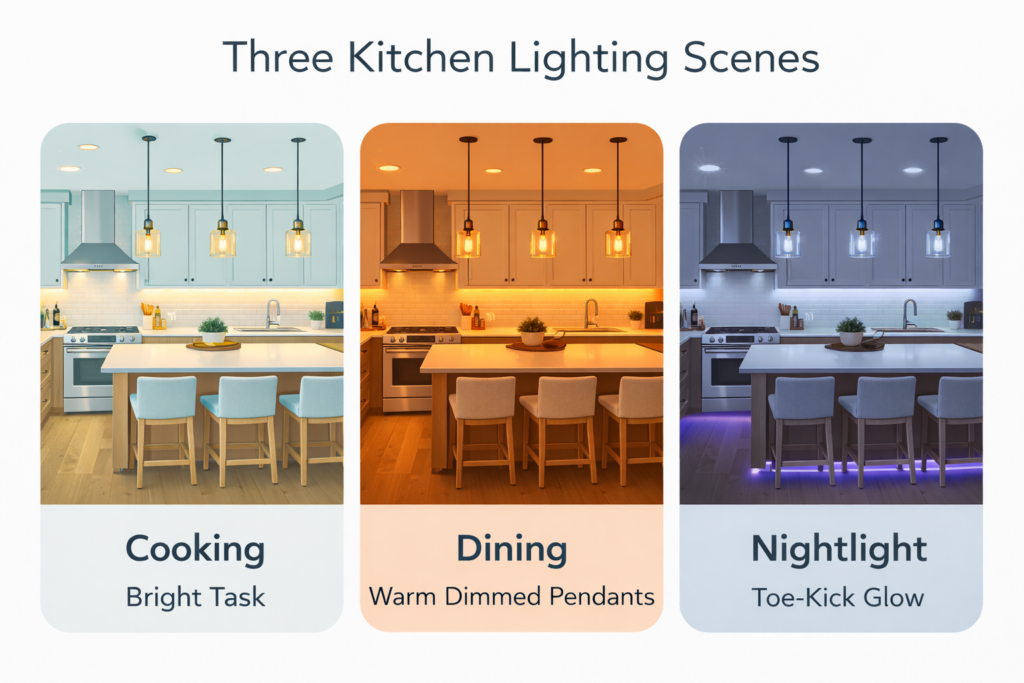
Step 5: Plan controls early (dimmers + scenes)
Layered lighting only works if it’s controllable. The “Rule of Three” approach is often paired with dimmers and flexible controls so your kitchen can shift through the day. (Homes and Gardens)
If you do nothing else: put your ambient, island, and under-cabinet lights on separate switches.
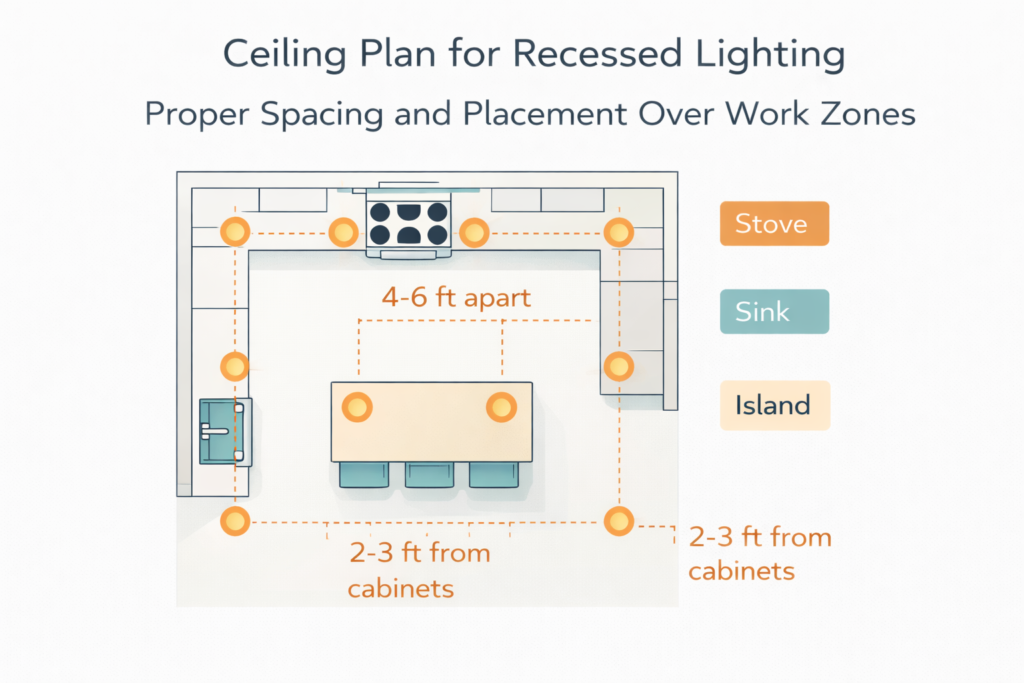
Recessed lighting in kitchens: spacing, placement, and avoiding shadows
Recessed lights are great for ambient coverage, but they’re often misused.
Spacing: two common rules of thumb
- Better Homes & Gardens cites a general guideline of one recessed light per 4–6 square feet of ceiling space. (Better Homes & Gardens)
- Another common spacing method is based on ceiling height (many guides say spacing is roughly half the ceiling height, adjusted for fixture spread). (LightUp)
Placement: don’t put lights where your body blocks them
If your recessed lights are centered in the room, you can end up standing between the light and your countertop, casting shadows right where you’re working. A smart layout often places ambient lights so they illuminate in front of you, not directly above your head while you work. (dkorinteriors.com)
Recessed trim and beam angle tips (the stuff that changes the feel)
- Wide beam floods for general ambient
- More focused beams for highlighting sink or art
- Choose glare-reducing trims if you hate seeing bright “dots” in your ceiling
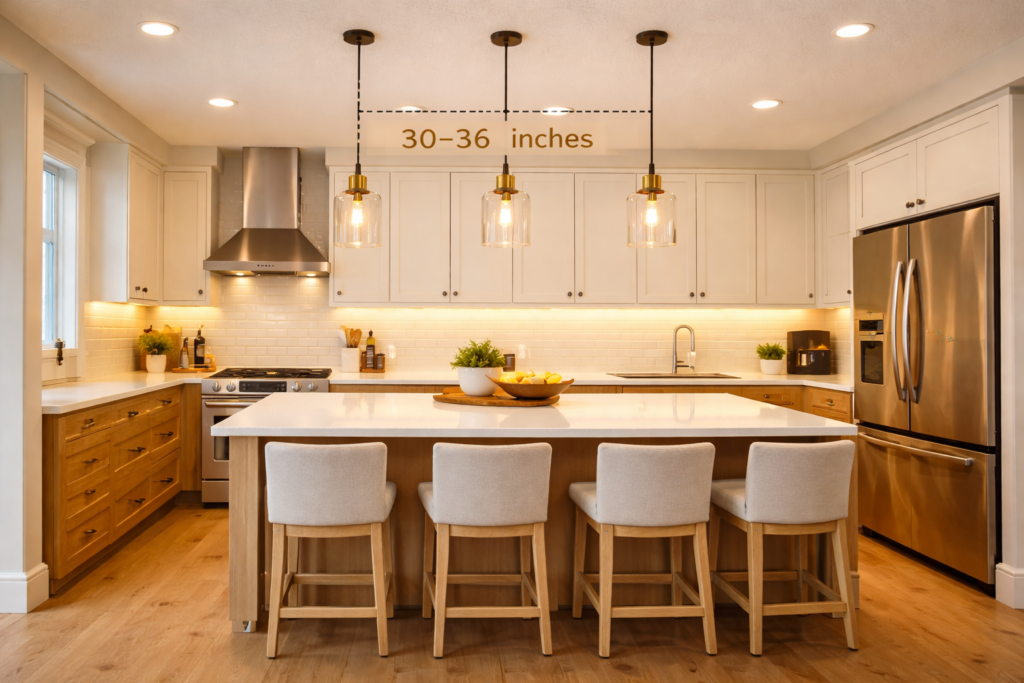
Pendant lights over an island: the sizing and height rules that prevent regrets
Island pendants are both task lighting and a major design feature.
Height
A widely used guideline is 30–36 inches from the bottom of the pendant to the countertop. (visualcomfort.com)
Spacing and quantity
A practical starting point:
- 2 pendants for many standard islands
- 3 pendants for longer islands (if scale supports it)
- Keep pendants visually centered over the island, not the stools
Some guides suggest spacing pendants about 24–30 inches apart (center to center) depending on size and height. (Edward Martin)
Shade choice matters more than people think
- Clear glass looks light but can cause glare if the bulb is visible
- Opaque shades reduce glare and direct light downward
- Wider shades often create better task pools of light
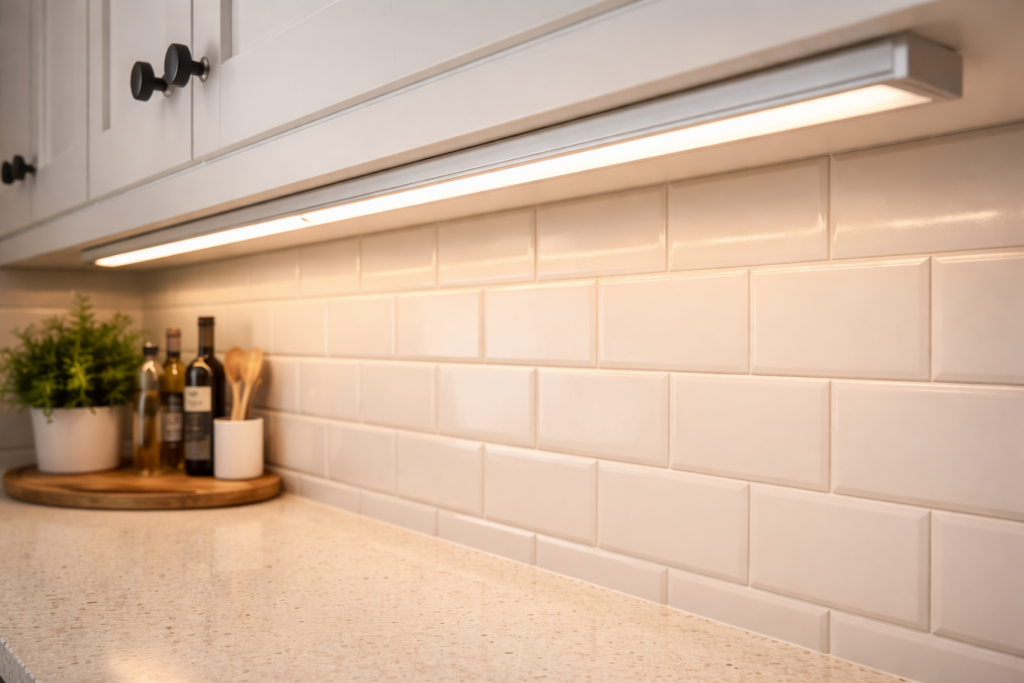
Under-cabinet lighting: the most important upgrade for function
If you want the single best “why didn’t we do this sooner?” kitchen lighting improvement, it’s under-cabinet lighting.
How bright should under-cabinet lights be?
Many guides suggest roughly 200–500 lumens per linear foot for under-cabinet task lighting, depending on how much ambient light you already have. (Simple Lighting LTD)
A smart move is to install bright-enough strips and put them on a dimmer, so you can go task-bright while cooking and soft-glow at night.
Where should under-cabinet lighting be placed?
Manufacturers and lighting guides commonly recommend placing the light toward the front edge of the cabinet underside for better countertop illumination and fewer shadows. Kichler’s guidance, for example, explicitly says to install under-cabinet lights toward the front edge. (Kichler Lighting)
AspectLED similarly notes that placing bars toward the front edge is ideal for task lighting. (AspectLED)
Strip vs bar vs puck
- LED tape/strip in a channel with a diffuser: best modern look, smooth light, minimal glare
- Light bars: simple, consistent, great for straightforward installs
- Pucks: can create “scallops” and bright spots unless spaced carefully
Color temperature tip
Try to match under-cabinet CCT to your other kitchen lights (for example, all 3000K). Mixed color temperatures are one of the fastest ways to make a kitchen feel visually messy.
Lighting the sink, range, and pantry (the zones people forget)
Over the sink
If you only have recessed lighting behind you, the sink becomes a shadow zone. Add:
- a small pendant, or
- a semi-flush fixture, or
- an aiming recessed light placed to illuminate the sink zone
Cooktop/range
You often get task light from:
- the hood’s integrated lighting
- a recessed light placed to avoid casting your body shadow while cooking
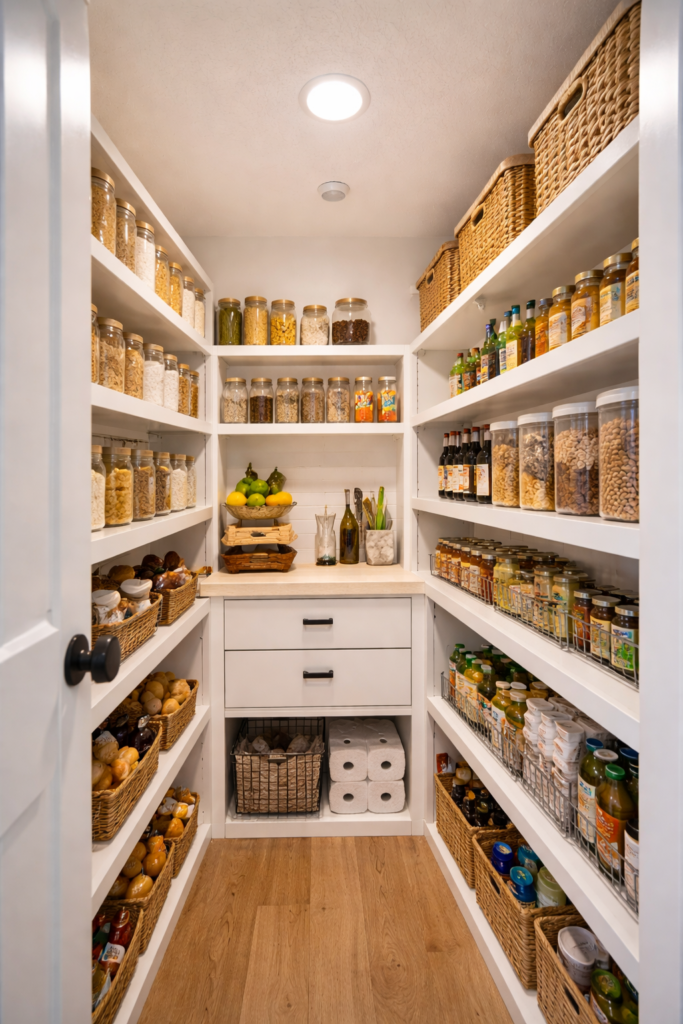
Pantry
Pantries love motion-sensor lights (so you’re not fumbling for a switch). Even a simple bright ceiling fixture can make a pantry feel bigger and more usable.
Accent lighting ideas that make kitchens look designer
Accent lighting is what creates depth after dark.
High-impact options:
- Toe-kick LED (nightlight + wow factor)
- Glass cabinet interior lights
- Open-shelf strip lighting
- Above-cabinet uplighting (works best when there’s a gap above cabinets)
Controls: dimmers, smart switches, and “scenes” that actually get used
A layered plan is only as good as its controls.
Minimum recommended control setup:
- Ambient on a dimmer
- Under-cabinet on a dimmer
- Island pendants on a dimmer
- Accent (toe-kick/shelves) on its own switch or motion sensor
Designers frequently emphasize dimming and multiple zones as the difference between “bright” and “beautiful.” (Homes and Gardens)
Common kitchen lighting mistakes (and how to fix them)
Mistake 1: Relying on recessed lights only
This leads to shadowy counters and flat walls. Better Homes & Gardens specifically warns that too many recessed lights can make a kitchen feel sterile and that recessed lights don’t illuminate walls well. (Better Homes & Gardens)
Fix: add under-cabinet task light + at least one accent layer.
Mistake 2: No under-cabinet lighting
Cabinets block ceiling light and cast shadows where you prep food. (Better Homes & Gardens)
Fix: install strips or bars, ideally toward the cabinet front edge. (Kichler Lighting)
Mistake 3: Mixed color temperatures
A 2700K pendant + 4000K recessed + 6000K under-cabinet is a recipe for visual chaos. ENERGY STAR’s guide explains how CCT affects warmth perception and notes 2700–3000K is commonly preferred in homes. (ENERGY STAR)
Fix: pick one base CCT (often 3000K) and stick with it.
Mistake 4: Great fixtures, no dimmers
Fix: put layers on dimmers so you can go bright for tasks and warm for meals. (Homes and Gardens)
Kitchen lighting by layout: what changes in real spaces
Small kitchens
- One great ceiling fixture + under-cabinet lighting can outperform a grid of small recessed lights
- Use lighter walls/backsplashes to bounce light
Galley kitchens
- Linear fixtures or well-spaced recessed down the center
- Under-cabinet lighting on both sides makes the space feel wider
Open-concept kitchens
- Use pendants or a linear island fixture to visually “zone” the kitchen
- Match CCT with nearby living room lighting for flow
Dark cabinet kitchens
- Under-cabinet lighting becomes non-negotiable
- Consider higher lumen output (then dim down) (Simple Lighting LTD)
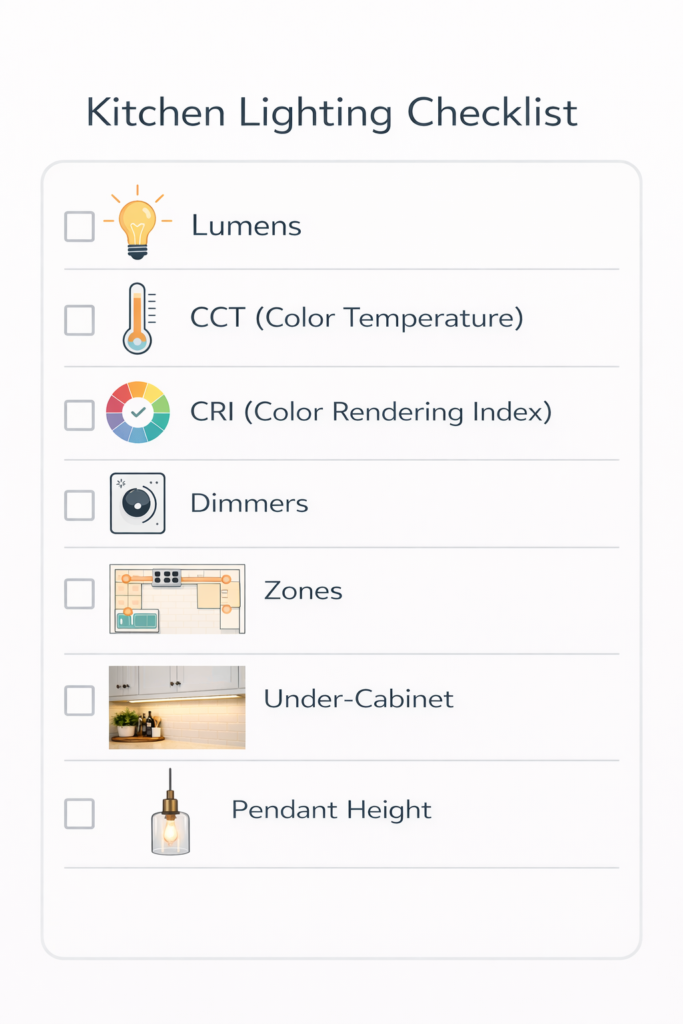
A buyer’s checklist for choosing fixtures and bulbs
When you’re shopping, prioritize:
- CCT that matches your plan (often 2700–3000K residentially) (ENERGY STAR)
- CRI 90+ where color matters (especially task zones) (ENERGY STAR)
- Dimmability (and dimmer compatibility)
- Diffusers for tape lights (to avoid “dots”)
- Access to drivers/transformers for under-cabinet systems
- Separate switching for layers (Homes and Gardens)
Kitchen lighting FAQs
How many recessed lights do I need in a kitchen?
Some guidelines suggest one recessed light per 4–6 sq ft of ceiling space as a rough rule of thumb. (Better Homes & Gardens)
A better answer is: design recessed lighting as ambient coverage, then rely on under-cabinet and island lighting for task work.
What color temperature is best for kitchen lighting?
Many homes prefer 2700K–3000K, and ENERGY STAR’s guide notes that range is preferred residentially. (ENERGY STAR)
If you want a cleaner look, 3000K is a very common sweet spot for kitchens.
How bright should under-cabinet lighting be?
A frequently cited planning range is 200–500 lumens per linear foot for task lighting. (Simple Lighting LTD)
How high should pendant lights hang over a kitchen island?
A standard guideline is 30–36 inches between the bottom of the pendant and the countertop. (visualcomfort.com)
The bottom line
Great kitchen lighting is less about one perfect fixture and more about a system: layered light (ambient, task, accent), the right brightness targets, consistent color temperature, high color quality (CRI), thoughtful placement that avoids shadows, and controls that let you create scenes. When those pieces work together, your kitchen feels brighter, safer, more flattering, and more expensive—without needing extreme wattage or a ceiling full of cans. (alalighting.com)
Related Article
https://homeandgardenworld.com/advice/how-to-measure-for-curtains